Key Takeaways
- Gutters and siding function as one integrated water management system, not two independent trades.
- Poor gutter installation that ignores siding integration leads to rot, mold, and structural damage over time.
- Correct slope, pitch, and downspout placement are essential to keeping water away from your siding and foundation.
- Siding material choice and installation details directly affect how well your gutter system performs.
- Planning both systems together in 2026 saves money, prevents rework, and extends the life of your entire exterior.
How Water Damage Accelerates When Gutters and Siding Fail Together
When gutters and siding fail at the same time, water damage compounds faster than either system failing in isolation. The exterior envelope stops functioning as a unit, and moisture finds multiple entry points simultaneously.
Gutters move water off your roof and away from your home. Siding blocks wind-driven rain from penetrating your walls. Together they form a continuous barrier.
When either one is compromised, the other has to work harder, and that extra strain shortens its lifespan too.
The domino effect of poor gutter installation on siding integrity
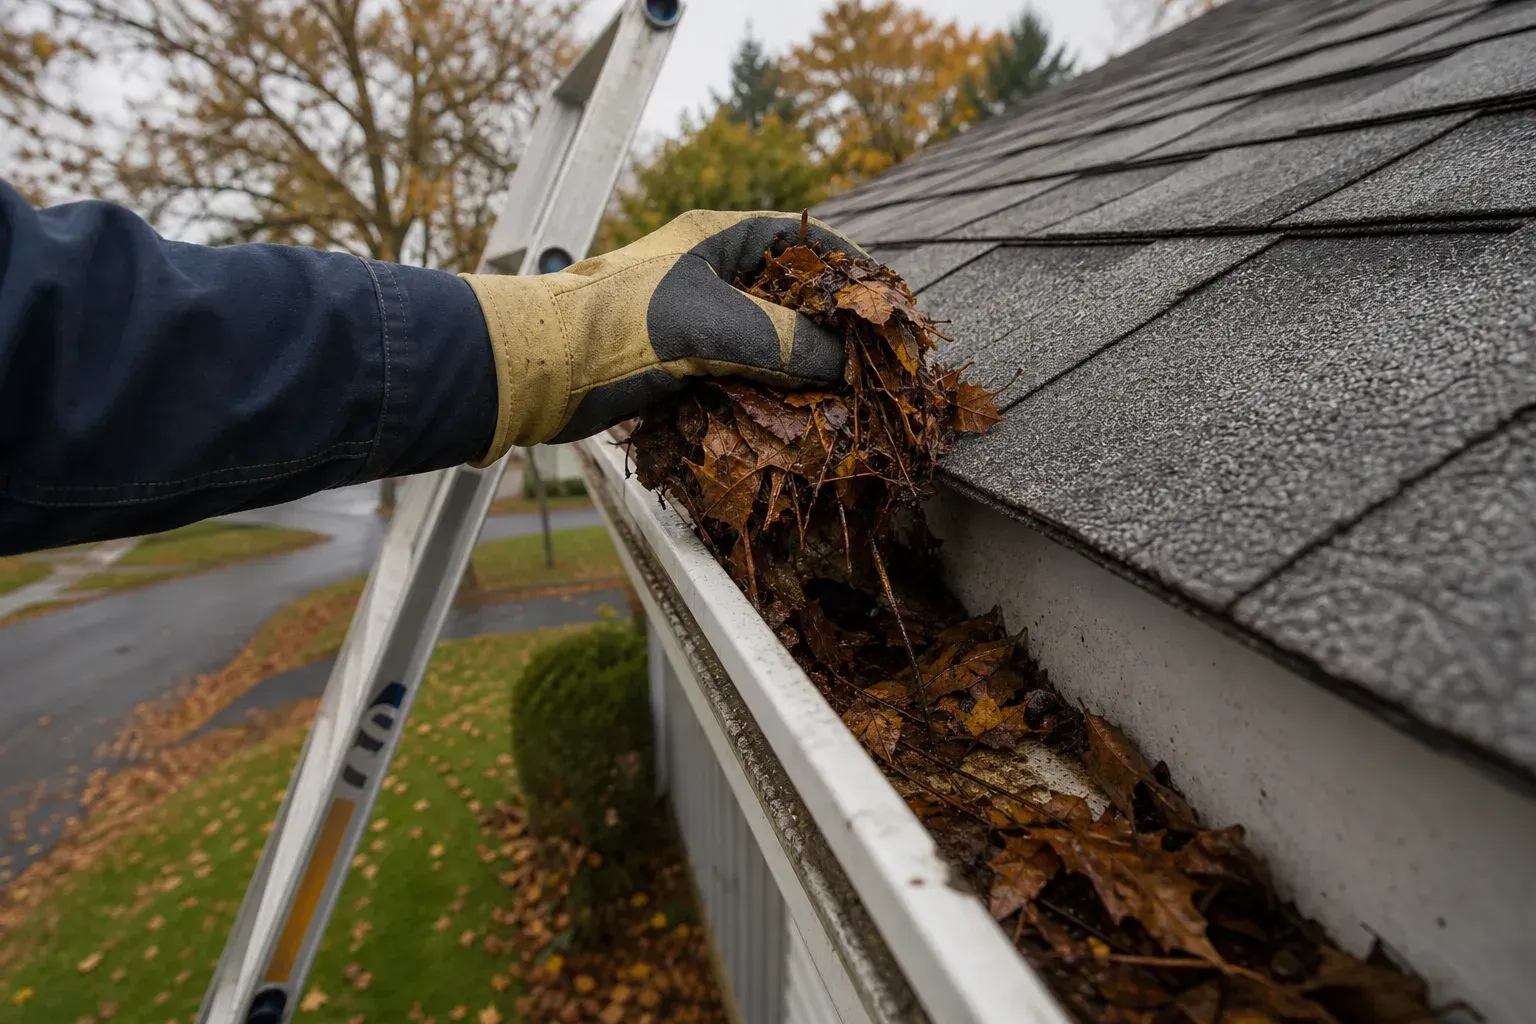
When gutters clog, overflow, or pull away from the fascia, water cascades directly down the siding face. That repeated wetting cycle breaks down paint adhesion, warps wood trim, and drives moisture behind siding panels. Vinyl siding that was installed correctly can still fail when it gets soaked repeatedly by an overflowing gutter just inches above it.
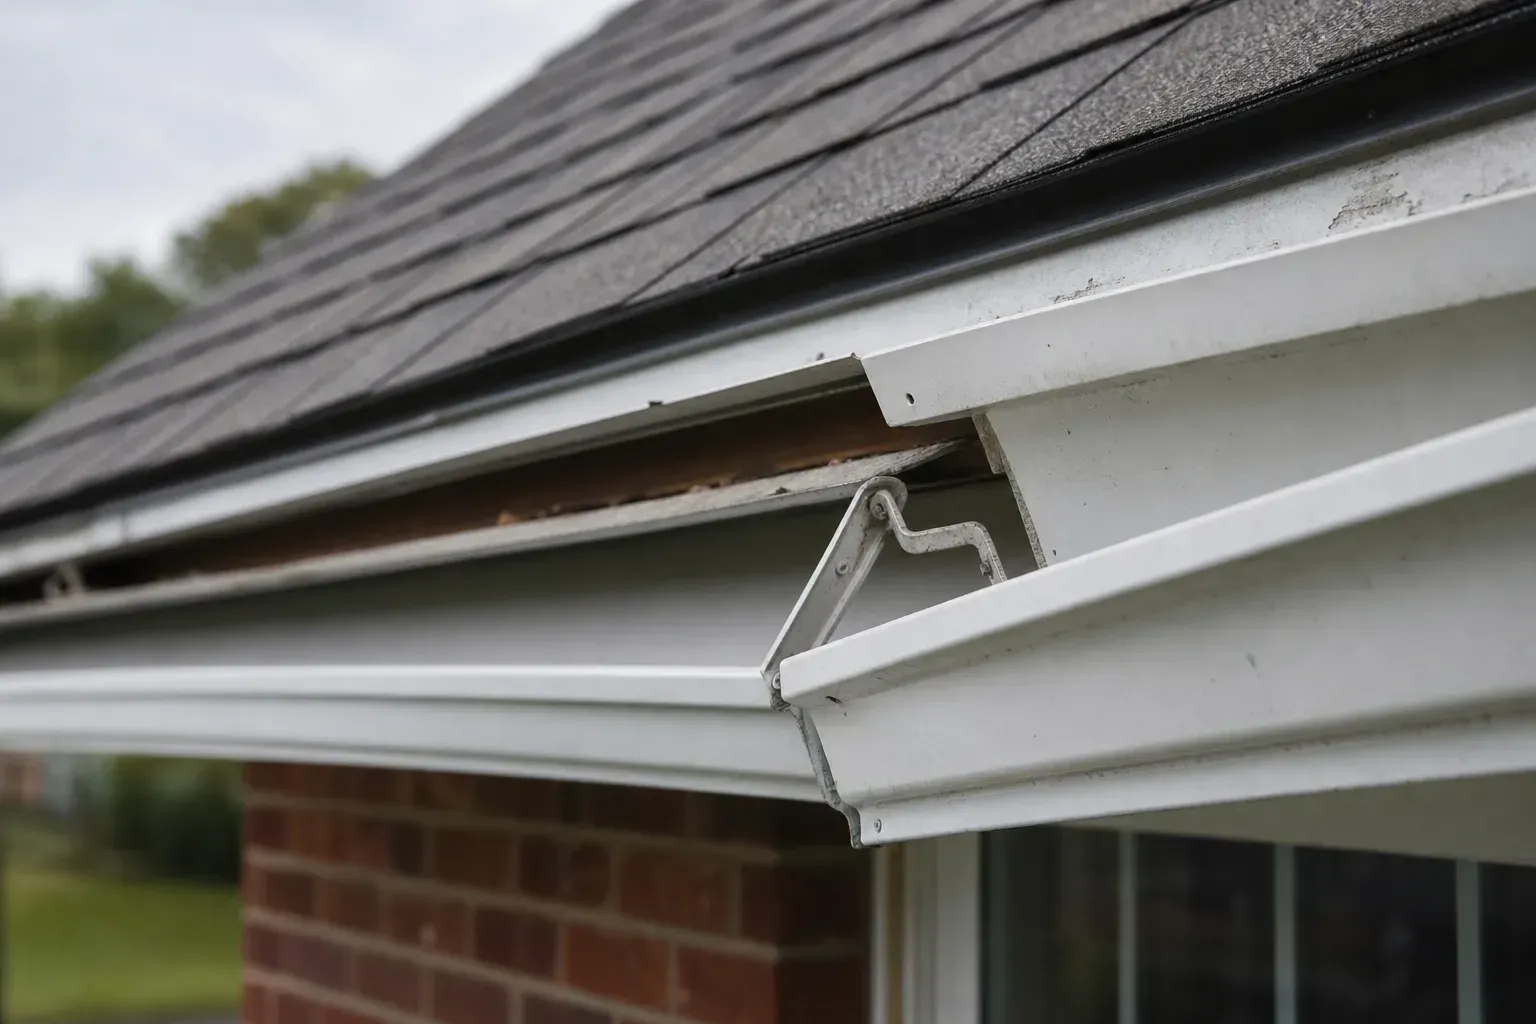
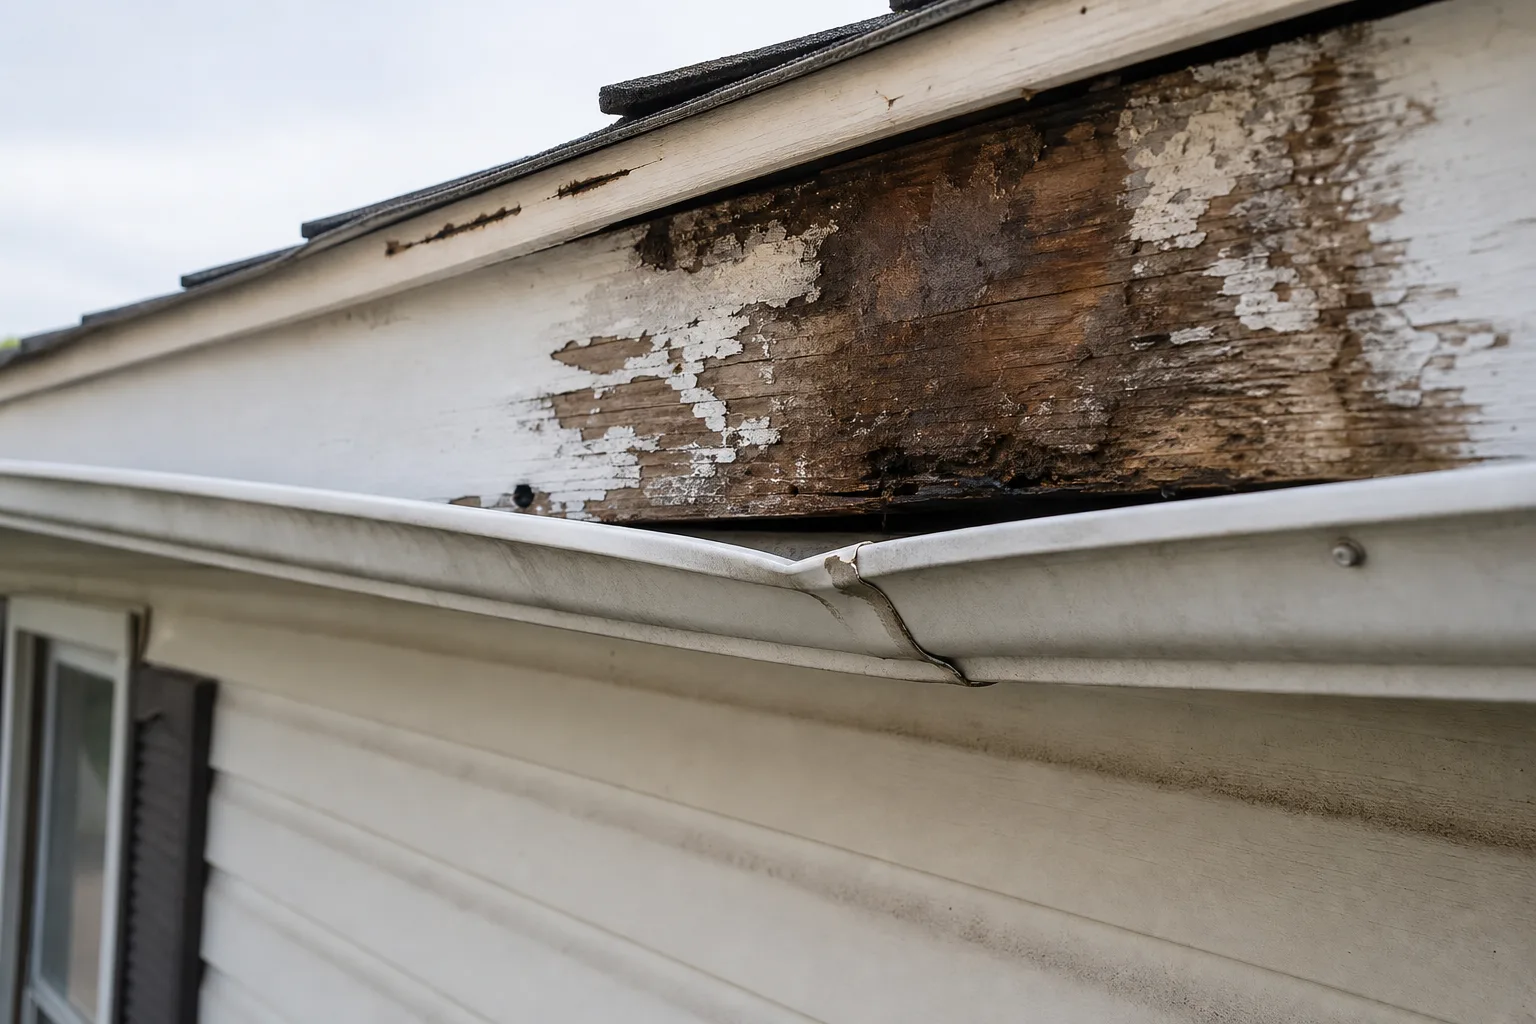
Fascia boards sit right behind the gutter. Once water gets behind the gutter lip and saturates the fascia, it wicks into the wall cavity. By the time you see a stain inside the house, the wood behind your siding has often been rotting for months.
As noted in this overview of how gutters, roofing, and siding work together, the exterior systems of a home are interdependent, and a failure in one accelerates wear in the others.
Common water infiltration points between gutters and siding systems
The gap where the top of a siding panel meets the bottom of the fascia trim is one of the most vulnerable spots on your exterior. If the gutter isn't properly seated and the drip edge isn't directing water into the gutter channel, that joint becomes an entry point. An other common problem area is around downspout brackets and elbows where the downspout meets the siding wall, especially when caulking has dried out.
J-channel trim around windows and doors is an other infiltration zone. Water from a slow gutter leak can run down the siding and find its way into J-channel seams, then travel horizontally behind the panels. Proper coordination between siding and gutter systems is what prevents these slow, hidden leaks.
Hidden costs of ignoring either system in 2026
Deferred maintenance on gutters and siding doesn't freeze the damage. It compounds it. What starts as a minor overflow issue can progress to rotted sheathing, mold in the wall cavity, and eventually compromised structural framing.
Remediation at that stage costs several times what a timely repair or replacement would have. Homeowners in Greece and Gates who see paint bubbling on siding or streaking on the exterior walls are usually looking at a gutter problem that has been working on the siding for a season or more.
What Proper Gutter Installation Requires to Protect Siding
Gutter installation done right isn't just about hanging a channel along the roofline. The details determine whether water goes where it's supposed to or finds a path through your siding and into your walls.
Correct slope, pitch, and downspout placement standards
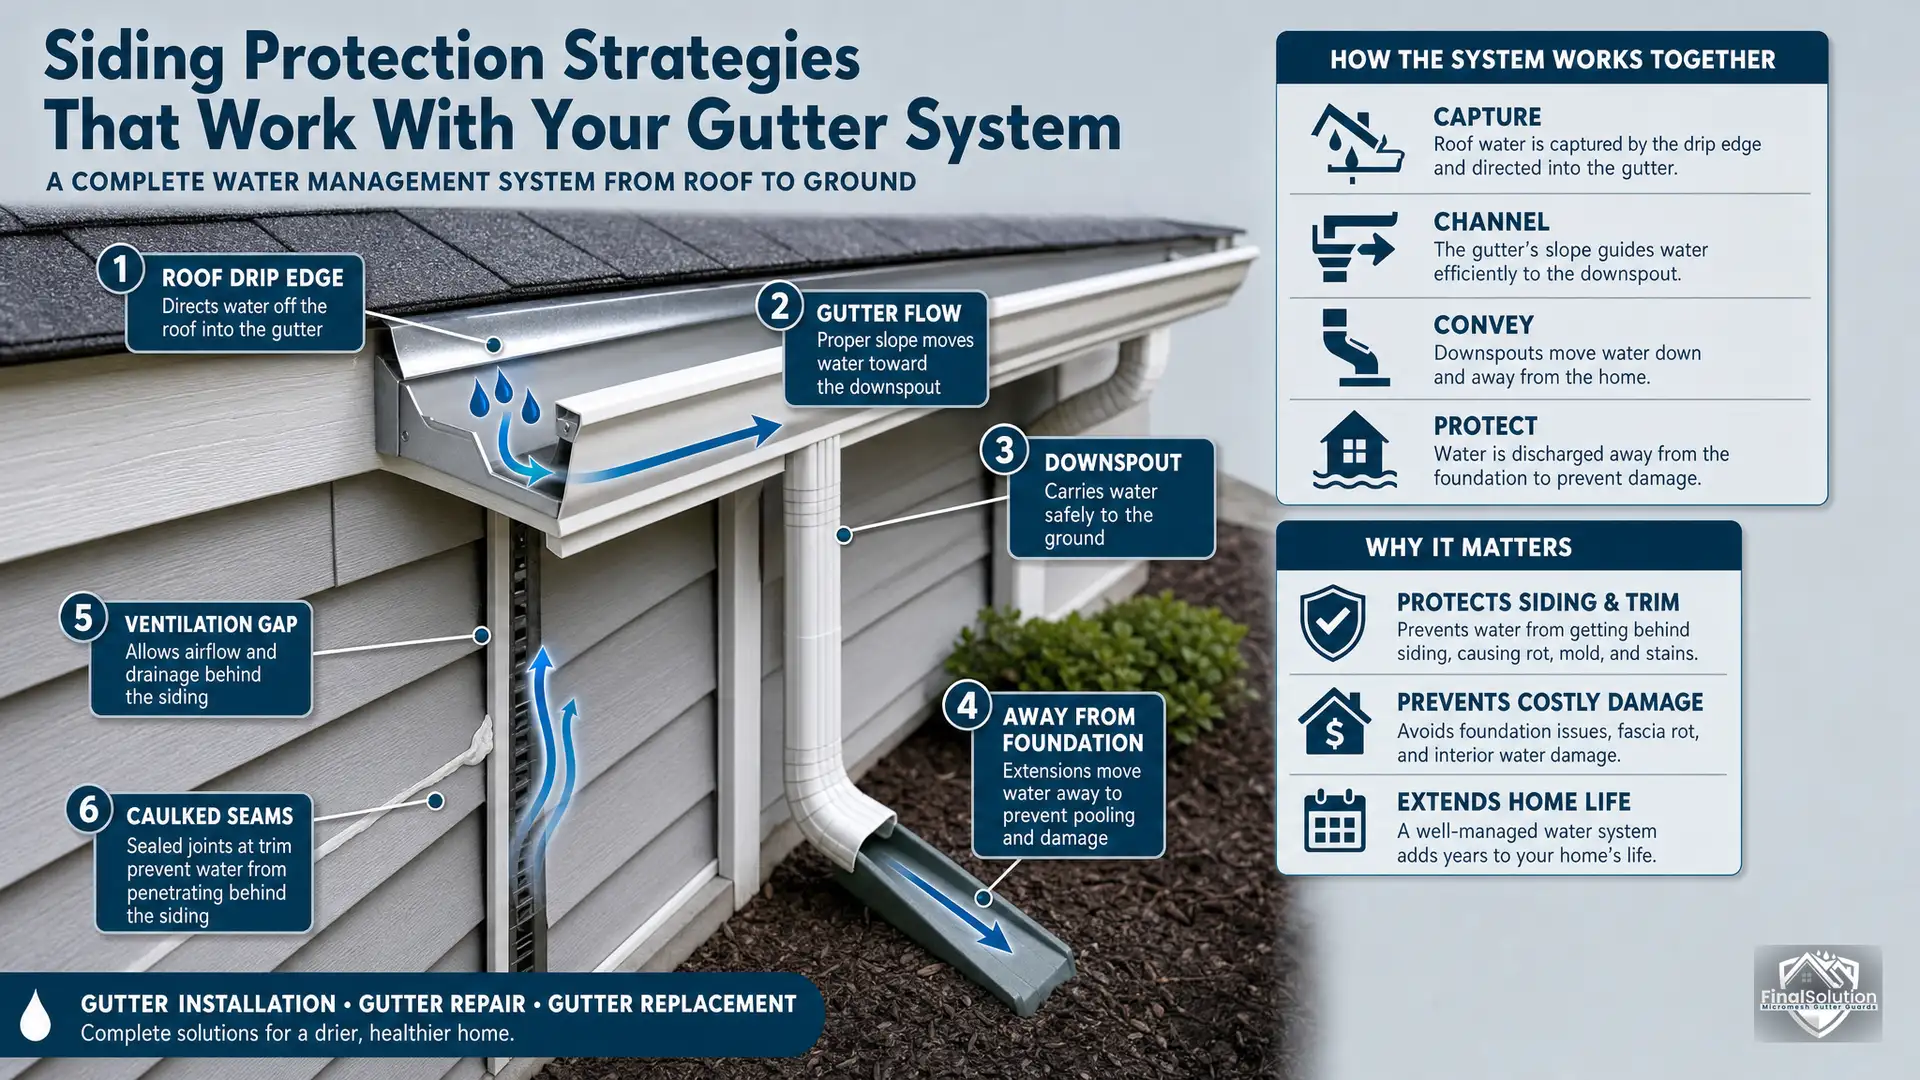
Gutters need a consistent slope toward downspouts, typically around a quarter inch of drop for every 10 feet of run. Too little slope and water pools and spills over the front edge. Too much and water rushes past debris instead of letting it flow out, causing clogs near the downspout inlet.
Downspout placement matters just as much: extensions should carry water at least 4 to 6 feet from the foundation, and the discharge point should never be aimed at a wall where it can splash back onto siding.
Our gutter and downspout installation service covers proper placement as a standard part of every job, not an afterthought.
Sizing gutters for your roof and rainfall patterns
Rochester and the surrounding Monroe County communities get significant rainfall, particularly in spring and fall, plus snowmelt that can create sudden high-volume runoff. A 4-inch gutter that works fine in a drier climate may overflow regularly here. Most residential homes in the area are better served by 5-inch or 6-inch K-style gutters, sized based on roof pitch and the square footage draining into each section.
Gutter cost and installation decisions often come down to this sizing question. Undersized gutters are cheaper upfront and more expensive over time. Getting the sizing right the first time protects your siding investment.
You can learn more about material options and sizing on our seamless gutters page.
Flashing integration between gutters and fascia
Drip edge flashing is the metal strip that bridges the roof deck and the top of the gutter. When it's installed correctly, water from the roof surface flows directly into the gutter channel without touching the fascia. When it's missing or improperly overlapped, water runs behind the gutter, saturates the fascia, and starts the rot cycle described earlier.
This detail is small in cost and enormous in impact.
Siding Protection Strategies That Work With Your Gutter System
Siding isn't just decorative. It's a moisture barrier, and how it's installed directly affects how well your gutters can do their job.
Why siding material choice affects water resistance
Fiber cement siding handles repeated wetting better than wood lap siding, but it still needs proper installation to prevent moisture absorption at cut edges. Vinyl siding is inherently water-resistant but relies heavily on correct overlapping and trim sealing to keep water out. The material you choose affects how much margin for error your gutter system has.
Siding installed with tight tolerances next to a well-functioning gutter system performs dramatically better than siding that was installed without accounting for drainage patterns. As this guide on how proper siding and gutter installation protects homes from water damage explains, treating both systems as a unit is what produces lasting results.
Proper installation gaps and ventilation requirements
Siding panels shouldn't sit tight against trim, windows, or roofline edges. A small gap, typically 1/4 inch or so, allows for thermal expansion and prevents panels from buckling in summer heat or Rochester winters. That gap also needs to be coordinated with gutter positioning so water doesn't land directly in it.
Ventilation behind the siding wall keeps moisture from building up in the cavity, which reduces the risk of mold growth even when small amounts of water penetrate.
Caulking and sealing details that complement gutter function
The seams around trim, windows, and where downspouts meet the siding wall all need to be caulked with a quality, paintable exterior sealant. These details are easy to skip and easy to defer, but they're the last line of defense when water overshoots or splashes off the gutter. Inspect caulk lines annually, especially in areas directly below gutter seams or downspout brackets, since those spots see the most water exposure.
Gutter and Siding Installation Mistakes That Create Costly Problems
The most damaging gutter and siding failures aren't dramatic collapses. They're small, chronic errors that go unnoticed until the repair bill arrives.
Understanding what goes wrong is the fastest way to evaluate the work already on your home.
Undersized gutters that overflow onto siding
A gutter that can't handle peak rainfall volume will overflow along its entire length during a heavy storm. That water hits the siding face directly and can also erode the soil line at the foundation. Homeowners in Penfield and Pittsford with older homes often find that original gutters were sized for the typical rainfalls of decades past and can't keep up with current conditions.
Upgrading to properly sized seamless gutters eliminates most overflow problems and protects both the siding and foundation.
Downspouts too close to foundation and siding edges
A downspout that terminates within a foot or two of the foundation wall is essentially delivering a concentrated stream of water to the most vulnerable part of your home's structure. Splash blocks help but aren't sufficient on their own. Downspout extensions, buried drainage pipe, or French drain systems are better long-term answers for homes where the grade doesn't carry water away naturally.
If you're in Webster or serving communities like Williamson where flat lots are common, this is worth evaluating carefully.
Improper flashing installation between roof and gutter systems
Missing or incorrectly lapped drip edge flashing is one of the most common problems found during gutter inspections. If the flashing was installed on top of the gutter instead of into it, or if it was omitted entirely, you may not see any obvious symptoms until the fascia begins to show rot or the interior ceiling shows a water stain. This is one of the primary things a professional inspection looks for.
Planning a Gutter and Siding Installation Project in 2026
How to assess your current system for compatibility issues
Walk your home's exterior after a heavy rain and look for water running down the siding face, pooling at the foundation, or dripping behind the gutter. Those are active failure signs. When conditions are dry, check the fascia boards for soft spots or discoloration, inspect caulk lines around downspout brackets, and look for gaps where the top of the siding panel meets the trim.
Any of these findings suggest the two systems aren't working together as they should.
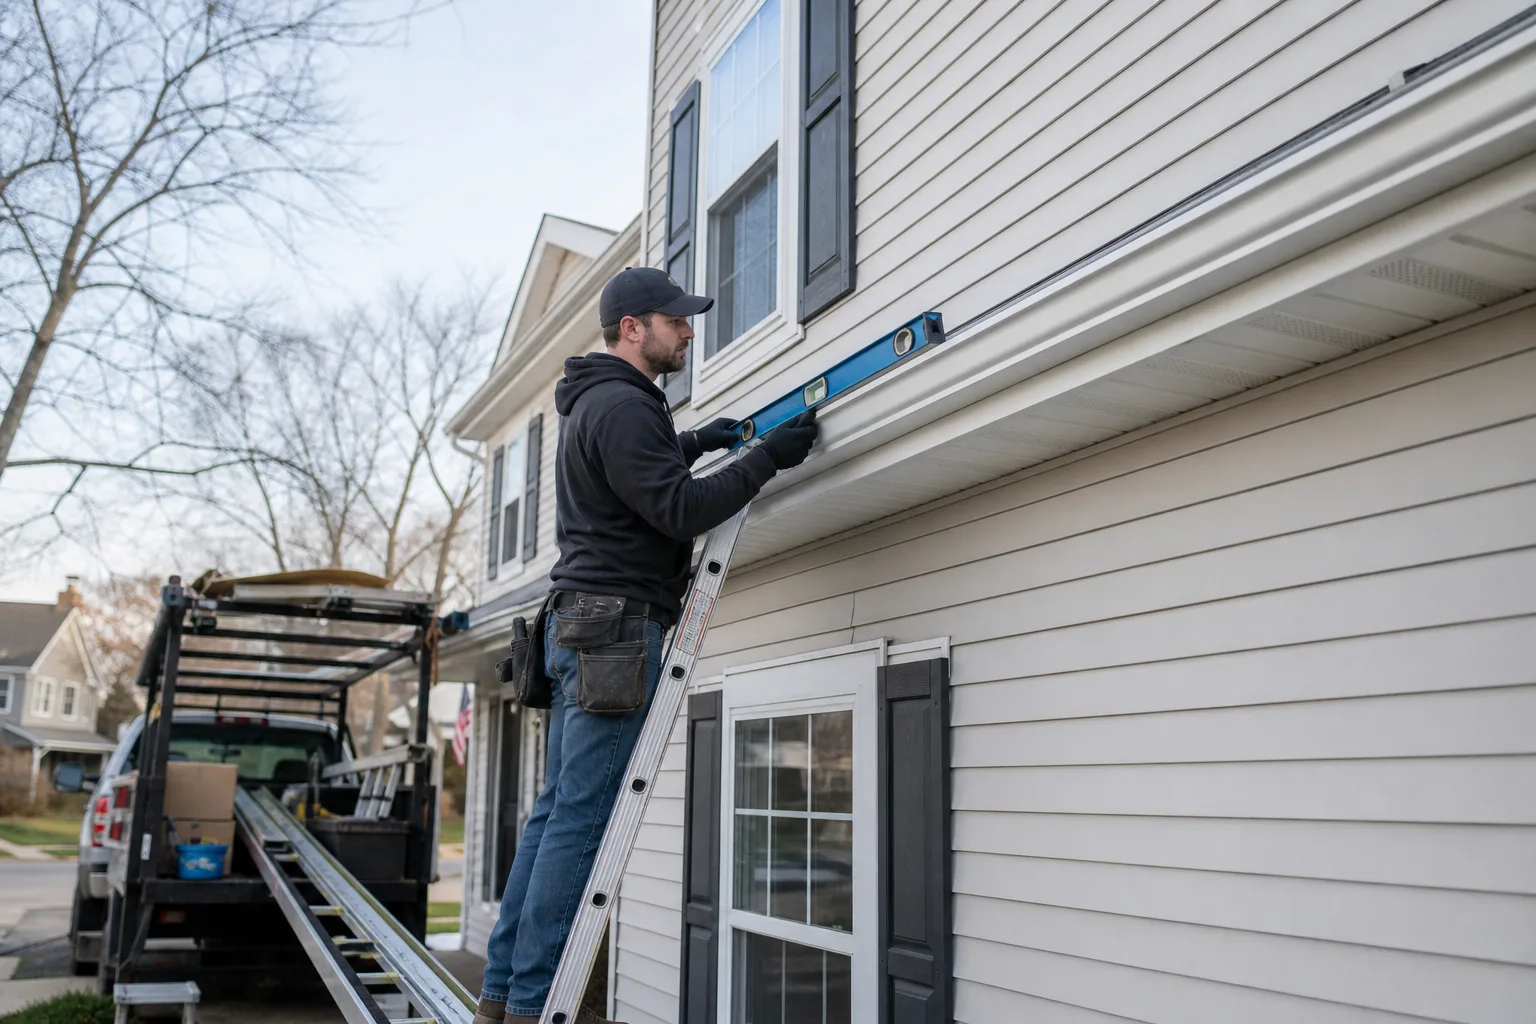
A professional inspection goes deeper. A contractor who understands both systems will check gutter pitch with a level, evaluate drip edge overlap, look for flashing gaps, and assess whether your current gutter size is adequate for your roof's drainage load. Homeowners in Rochester and the surrounding suburbs often discover during these inspections that their gutters were installed without proper slope, which explains chronic pooling and siding staining they've lived with for years.
Timing and sequencing considerations for simultaneous installation
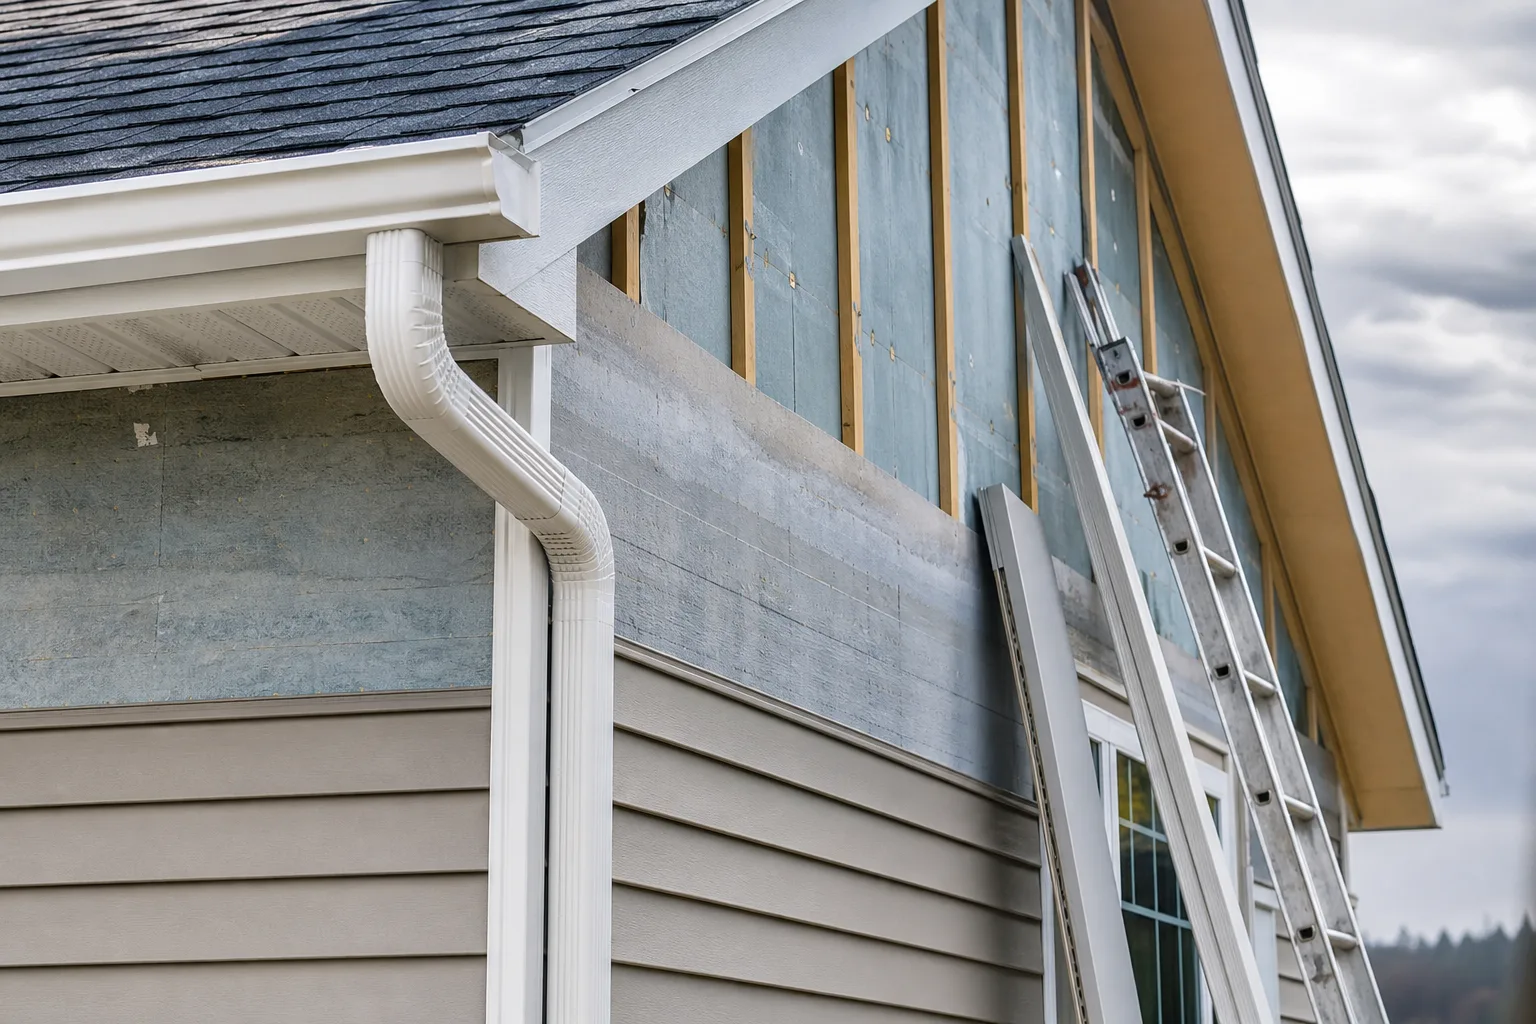
If you're replacing both gutters and siding, sequencing matters. Siding should go on before the gutters are hung so the top edge of the siding can be properly trimmed and caulked before the gutter brackets are fastened to the fascia. Installing gutters first and then trying to fit new siding around them creates awkward gaps and forces compromises in the trim details that lead to water infiltration.
The table below summarizes the recommended sequence and key coordination points for a combined project.
| Phase | Task | Key Coordination Detail |
|---|---|---|
| 1 | Remove old gutters and downspouts | Expose fascia for inspection before siding work begins |
| 2 | Repair or replace fascia and sheathing | Address any rot or soft spots found under old gutters |
| 3 | Install drip edge flashing | Must be set before new siding is started |
| 4 | Install new siding | Top edge trimmed and caulked before gutter brackets go up |
| 5 | Install seamless gutters and downspouts | Hang after siding is complete so brackets fasten cleanly |
| 6 | Add gutter guards (optional) | Installed last, after gutters are confirmed pitched correctly |
Following this sequence eliminates the most common rework scenarios and ensures both systems are sealed correctly against each other.
Working with contractors who understand both systems
Not every gutter contractor thinks about siding, and not every siding installer thinks about drainage. The gap between those two perspectives is where water problems hide. When you're evaluating contractors, look for one who asks about your siding condition during a gutter estimate, or who checks your gutter pitch during a siding consultation.
That kind of cross-system thinking is what separates a durable installation from one that looks fine on day one and causes headaches by year three.
Next Steps: Get a Comprehensive System Evaluation
Gutter installation and siding protection are most effective when they're planned and inspected as a unit. If you're noticing any warning signs, or if you simply haven't had your exterior evaluated in the past few years, a professional assessment is the most practical next step.
What to expect during a professional gutter and siding inspection
A thorough inspection covers both systems from the roofline down. The contractor will check gutter pitch, slope consistency, and bracket spacing. They'll look at the fascia condition, drip edge placement, and how the top of your siding integrates with the gutter system.
Downspouts get checked for proper sizing, secure attachment to the wall, and adequate extension away from the foundation.
You'll come away with a clear picture of what's working, what's failing, and what's likely to cause problems in the next one to three years. That information helps you prioritize spending and avoid emergency repairs. Check out our gutter installations and repairs page for Brighton or your specific community to see how we serve homeowners across Monroe County.
Questions to ask before committing to installation work
Going into a contractor conversation prepared makes a real difference. Here are the questions worth asking before you commit to any gutter or siding work.
| Question | Why It Matters |
|---|---|
| What gutter size do you recommend for my roof pitch and run length? | Confirms the contractor is sizing for your specific home, not defaulting to a standard size |
| How will the drip edge flashing be integrated with the new gutters? | Reveals whether they understand the roof-to-gutter transition |
| Where will downspouts terminate, and how far from the foundation? | Protects your foundation and prevents splash-back on siding |
| Will you inspect the fascia before installation? | Ensures rot or damage is caught before new gutters are hung over it |
| Do you offer leaf guard gutter installation as part of the project? | Useful if you want to reduce cleaning frequency after install |
| What warranty covers both labor and materials? | Sets clear expectations on who is responsible if problems develop |
These questions help you evaluate whether a contractor genuinely understands how the two systems interact, or whether they're treating gutters and siding as isolated line items.
Frequently Asked Questions
How does gutter installation affect my siding?
Gutters that overflow, sag, or pull away from the fascia allow water to run directly down your siding. Over time, repeated wetting breaks down paint, causes panels to warp or separate, and drives moisture into the wall cavity behind the siding. Proper gutter installation keeps water channeled away from the siding face entirely, which is the only way to prevent that cycle of damage.
What is the typical gutter cost and installation range for a Monroe County home?
Costs vary based on gutter material, profile size, linear footage, and whether you're adding downspouts or gutter guards. Aluminum seamless gutters are the most common choice in the Rochester area and offer a good balance of durability and value. The best way to get an accurate number is a free on-site estimate that accounts for your specific roofline, drainage needs, and siding configuration.
For details, visit our gutter installation service page.
Should I replace gutters and siding at the same time?
If both systems are aging or showing signs of failure, doing them together makes sense. The sequencing benefits are real: siding installed before gutters eliminates trim gaps, and having both done in one project often reduces total labor cost. Even if only one system needs replacement now, have a contractor evaluate the condition of the other so you're not replacing gutters over failing siding a year later.
What does proper gutter and downspout installation look like?
A properly installed system has gutters pitched consistently toward downspouts at roughly a quarter inch of drop per 10 feet. Downspouts are sized to handle the drainage volume from each roof section, secured to the wall at regular intervals, and extended at least 4 to 6 feet from the foundation. Splash blocks or underground extensions carry water away from the home without allowing it to contact siding.
Our downspout installation service covers every one of these details on every job.
Is leaf guard gutter installation worth adding when I replace my gutters?
In most cases, yes. Leaf guard gutter installation paired with new seamless gutters reduces the cleaning frequency significantly, protects the gutter channel from debris buildup that causes overflow, and extends the life of the system. It's most cost-effective when added during a new installation rather than retrofitted later. If you have mature trees near your home, which is common throughout the Webster, Penfield, and Pittsford areas, guards are worth factoring into the budget from the start.
You can explore options on our gutter guards page.
How do I know if my current gutters are failing my siding?
Look for paint peeling or bubbling on the siding directly below the gutterline. Check for dark streaking or green algae on siding panels, soft or discolored fascia boards, and any visible gaps between the gutter and the roofline edge. After a rainstorm, watch for water running down the siding instead of through the downspout.
Any of these signs suggest the two systems have stopped working together correctly and a professional evaluation is overdue. For guidance on what repairs might be needed, see our gutters repair page.
 Contact Us for a Free Estimate! Share a few details with Final Solution Gutter Guards ROC, we'll help you choose the right next step. Get a free estimate |