What Rochester Homeowners Should Know About Downspout Installation
If you live in Rochester, Webster, or anywhere in Monroe County, you already know how heavy the seasonal rainfall and snowmelt can be. Getting your downspouts right is not optional, it is essential.
Key Takeaways
- Downspouts should discharge water at least 4 to 6 feet away from your foundation to prevent basement moisture problems.
- Most single-story downspout installations take 2 to 4 hours for an experienced installer.
- Common materials include aluminum, vinyl, and steel, each with different trade-offs in durability and cost.
- Skipping the planning phase is the most frequent cause of leaks and premature failures.
- If your home has multiple stories, deteriorated fascia, or complex rooflines, hiring a licensed professional is the safest option.
- com), industry guidance aligns with these recommendations.
What You Need Before You Start
Before you pick up a tool, gather everything you need and understand the scope of the job. Rushing into downspout installation without proper preparation is the leading cause of rework and water damage.
Tools and Materials Checklist
Having the right materials on hand before you begin saves time and prevents mid-project delays. The table below covers the essentials for a standard residential installation.
| Item | Purpose | Notes |
|---|---|---|
| Downspout sections (aluminum or vinyl) | Primary drainage pipe | Match diameter to existing gutters (typically 2x3" or 3x4") |
| Downspout brackets/straps | Secure pipe to the wall | One every 6 feet, min. two per run |
| Elbows (A and B style) | Redirect water around overhangs and corners | Have extra on hand for adjustments |
| Sheet metal screws | Fasten sections together | Self-tapping, rust-resistant |
| Downspout outlet | Connect gutter trough to downspout | Must match gutter profile |
| Splash block or extender | Discharge water away from foundation | Aim for 4 to 6 feet minimum |
| Tin snips or hacksaw | Cut pipe to length | Needed for custom fits |
| Drill with bits | Mount brackets into fascia or siding | Pilot holes prevent cracking |
| Level and tape measure | Ensure plumb, accurate lengths | Critical for proper drainage |
| Safety ladder | Reach gutter level | Use a stabilizer for safety |
| Caulk or gutter sealant | Seal outlet connection | Prevents leaks at the joint |
Safety and Prep Considerations
Working at height is the biggest risk in any gutter or downspout project. Always use a stable, properly rated ladder and never lean it directly against your gutters, which can bend or crack the trough. A ladder stabilizer (also called a standoff) keeps the ladder away from the gutter while giving you a secure working position.
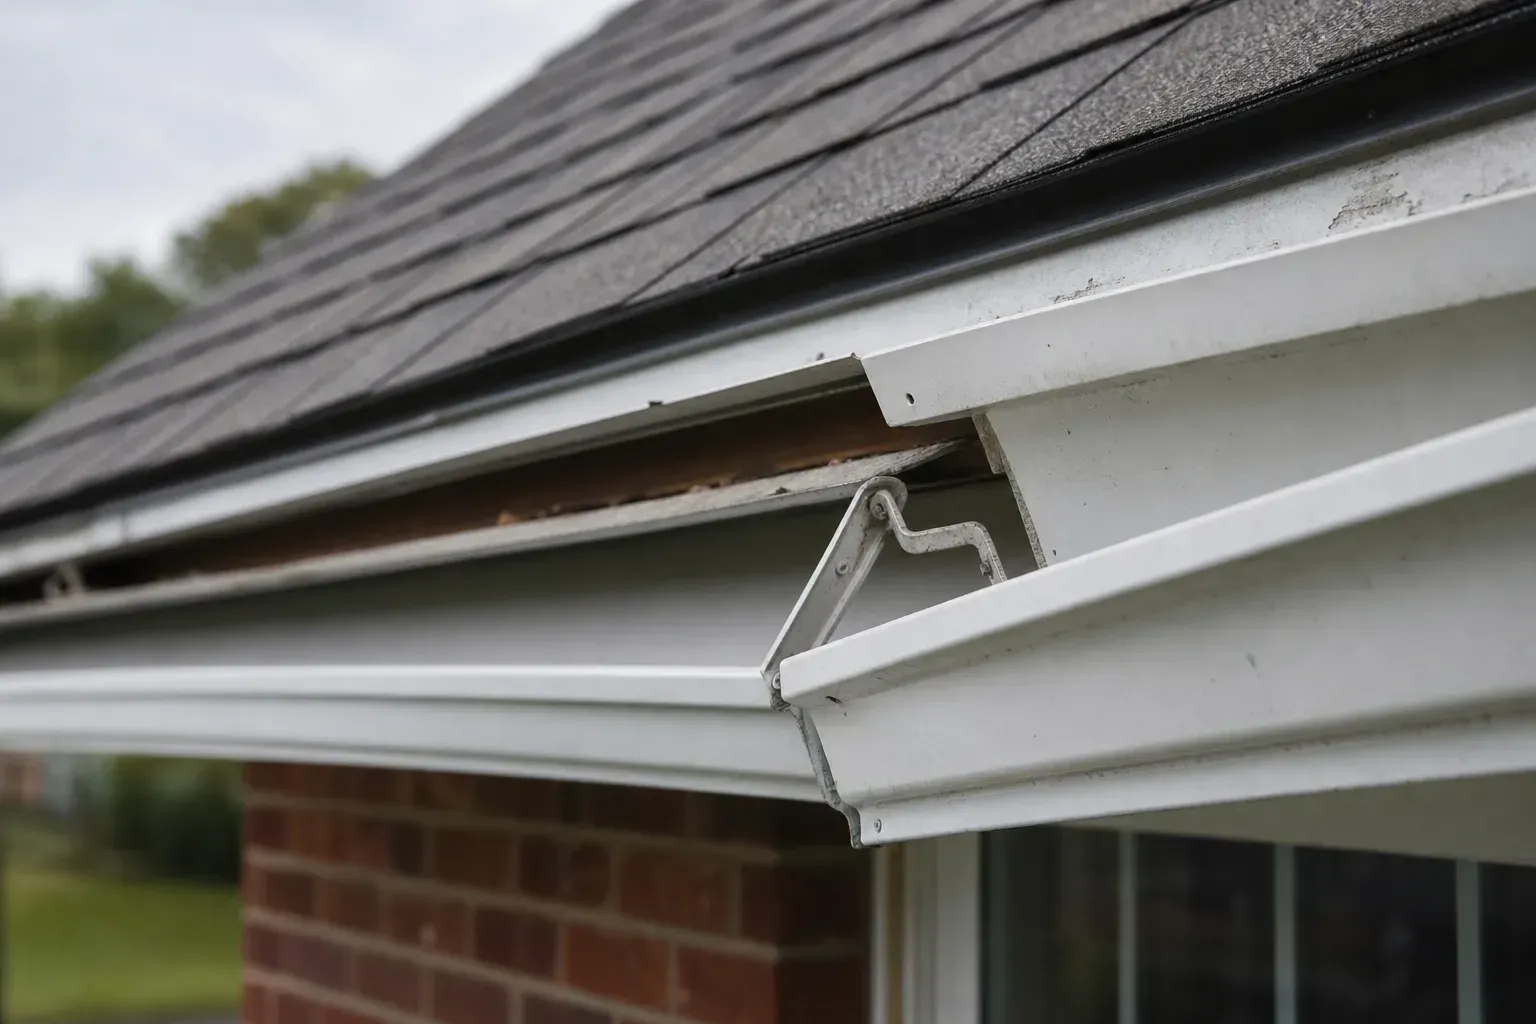
Check the weather before you start. Wet surfaces make ladders dangerous, and caulk and sealant need dry conditions to cure properly. If your fascia boards look soft, discolored, or crumbling when you press on them, stop and address the rot before mounting any hardware.
Damaged fascia cannot hold brackets securely.
Step-by-Step Walkthrough
This section covers the full process for a typical single-story residential downspout installation. Adapt the steps for your specific layout, but do not skip any stage.
Step 1: Assess the Current Situation
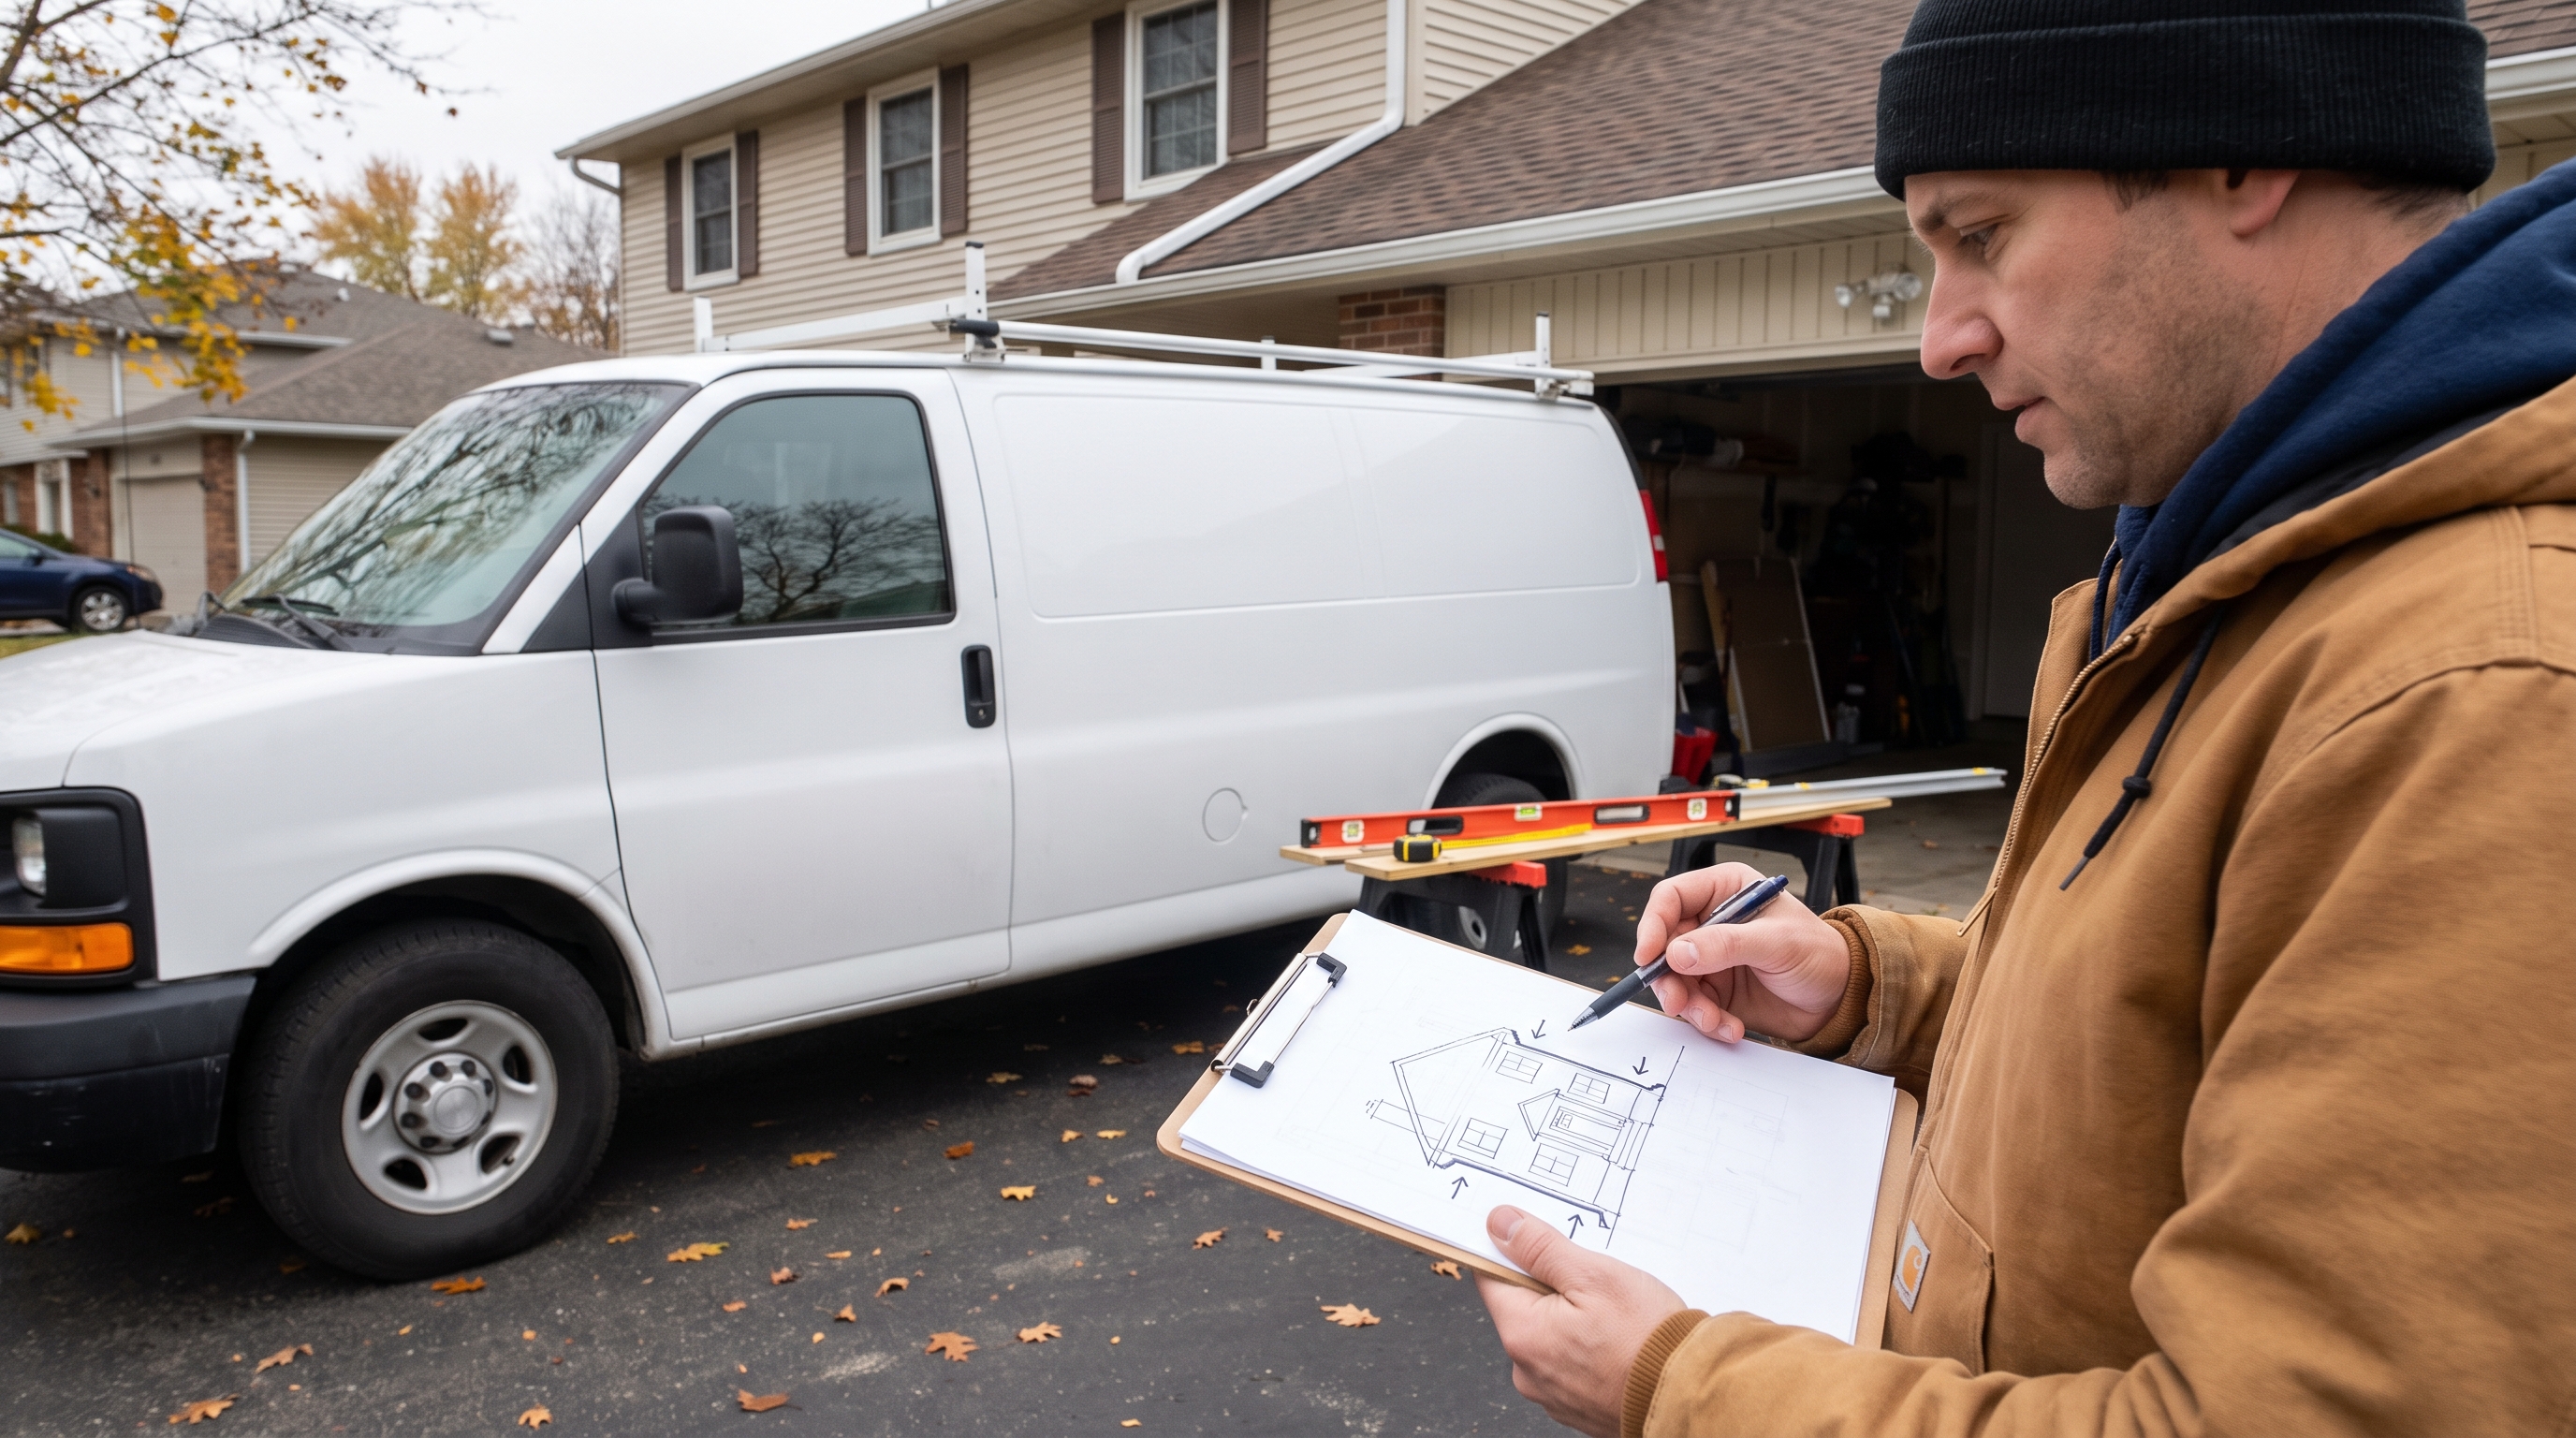
Start by inspecting your existing gutters. Identify where the downspout outlet should go and confirm the gutter already has an outlet punched or cut at that location. If not, you will need to cut an opening and install a drop outlet.
Check the path the downspout will take from the gutter to the ground. Note any obstacles like windows, doors, electrical boxes, or landscaping features. Measure the total run from the gutter to approximately 6 inches above grade so you know how many sections and elbows to purchase.
For homes in areas like Webster and Greece, where heavy spring rains are common, sizing your downspouts correctly is especially important.
Downspouts should handle approximately 1 square inch of opening for every 100 square feet of roof drainage area. A 2x3-inch downspout can typically handle around 600 square feet of roof surface, while a 3x4-inch handles up to 1,200 square feet or more.
Step 2: Prepare the Work Area
Mark the wall where your brackets will go. Use a level to draw a plumb vertical line from the outlet down to the point where the downspout will terminate. This line is your guide for keeping the pipe straight and ensuring water flows without pooling inside bends.
Pre-cut your downspout sections and elbows to length before climbing the ladder. This reduces the number of trips up and down and keeps the job moving safely. Test-fit all pieces on the ground first, especially custom angles cut around corners or overhangs.
Step 3: Execute the Core Work
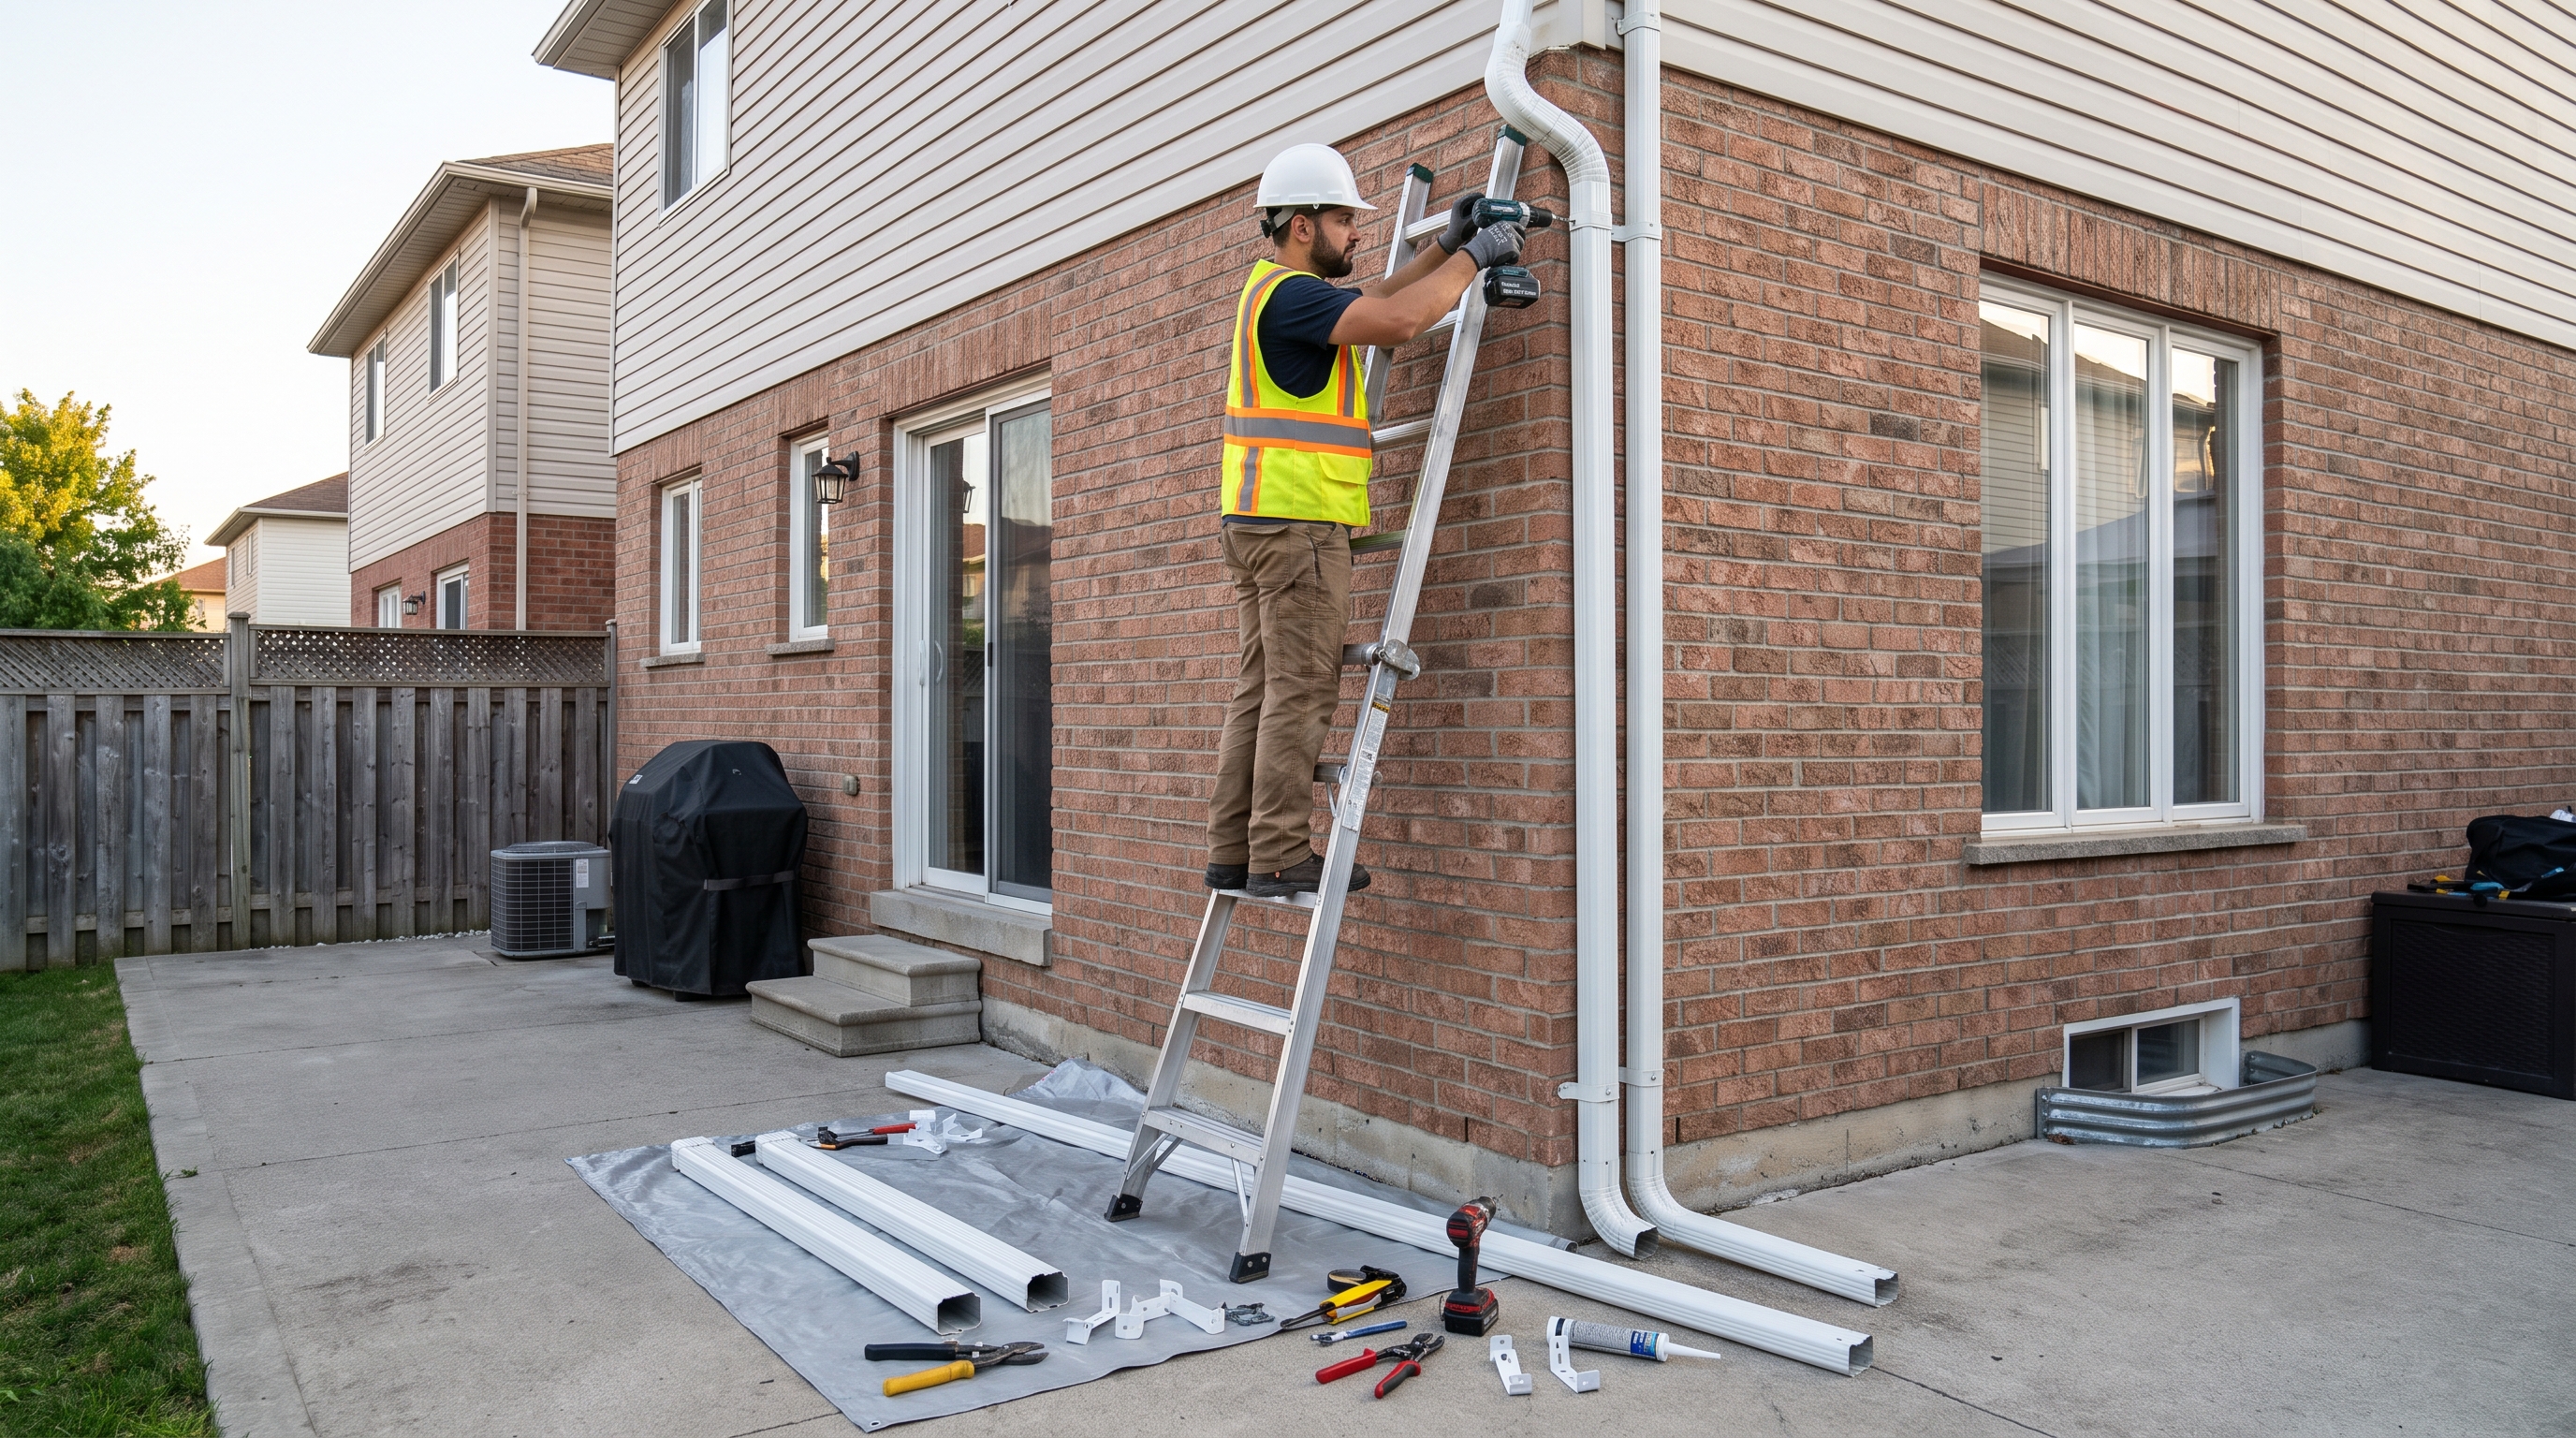
Attach the top elbow (the A-elbow) directly to the gutter outlet first. This elbow angles the pipe out from the soffit and back toward the wall. Secure it with sheet metal screws through the pre-drilled holes, and apply a bead of gutter sealant inside the outlet joint where the elbow meets the gutter.
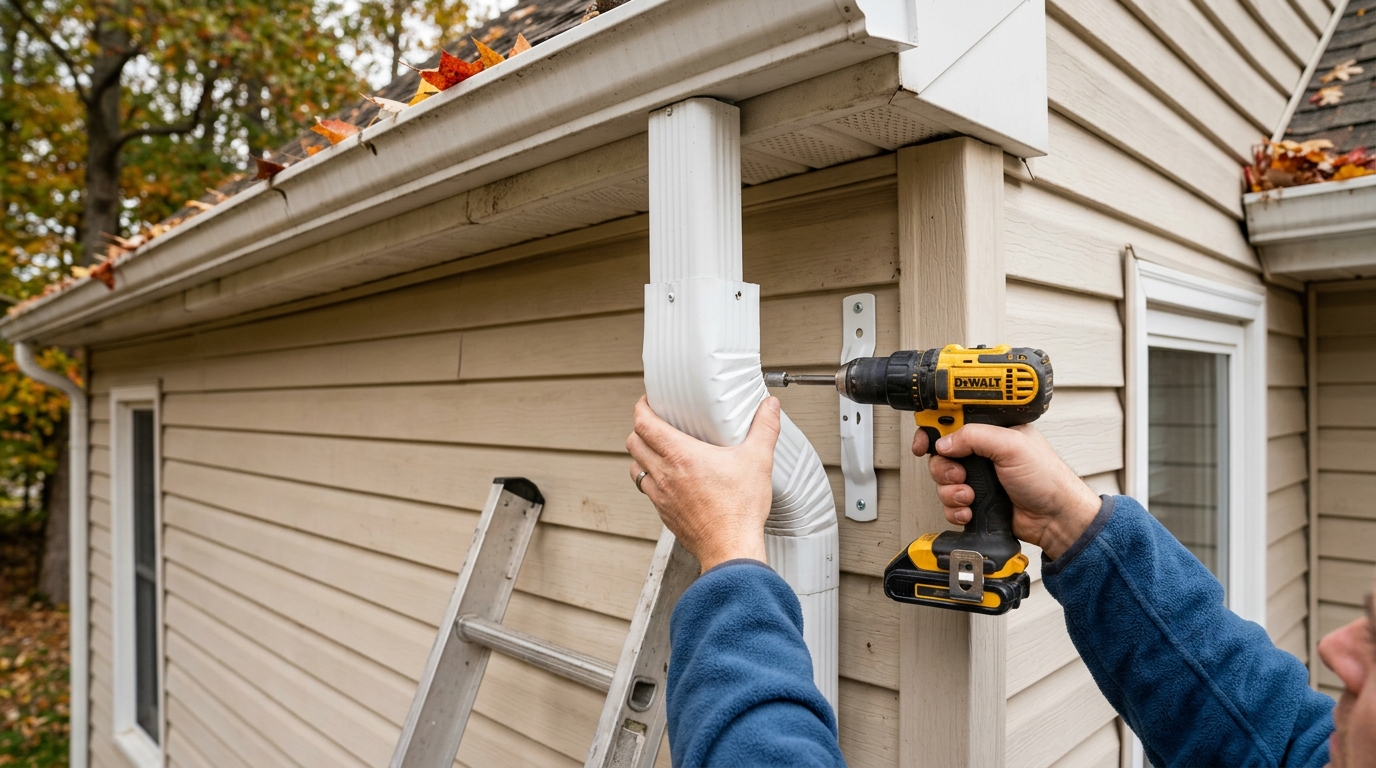
Slide the first downspout section into the elbow, working from the top down. Install wall brackets as you go, positioning one within 12 inches of the top connection and then every 6 feet down the wall. Make sure each bracket is fastened into solid wood or a wall stud, not just siding.
At the base, add a lower elbow to direct water away from the foundation. Connect a splash block, flexible extender, or underground drainage pipe depending on your yard's grading. The goal is always to move water away from the house, not just to the ground beside it.
Step 4: Inspect Quality and Wrap Up
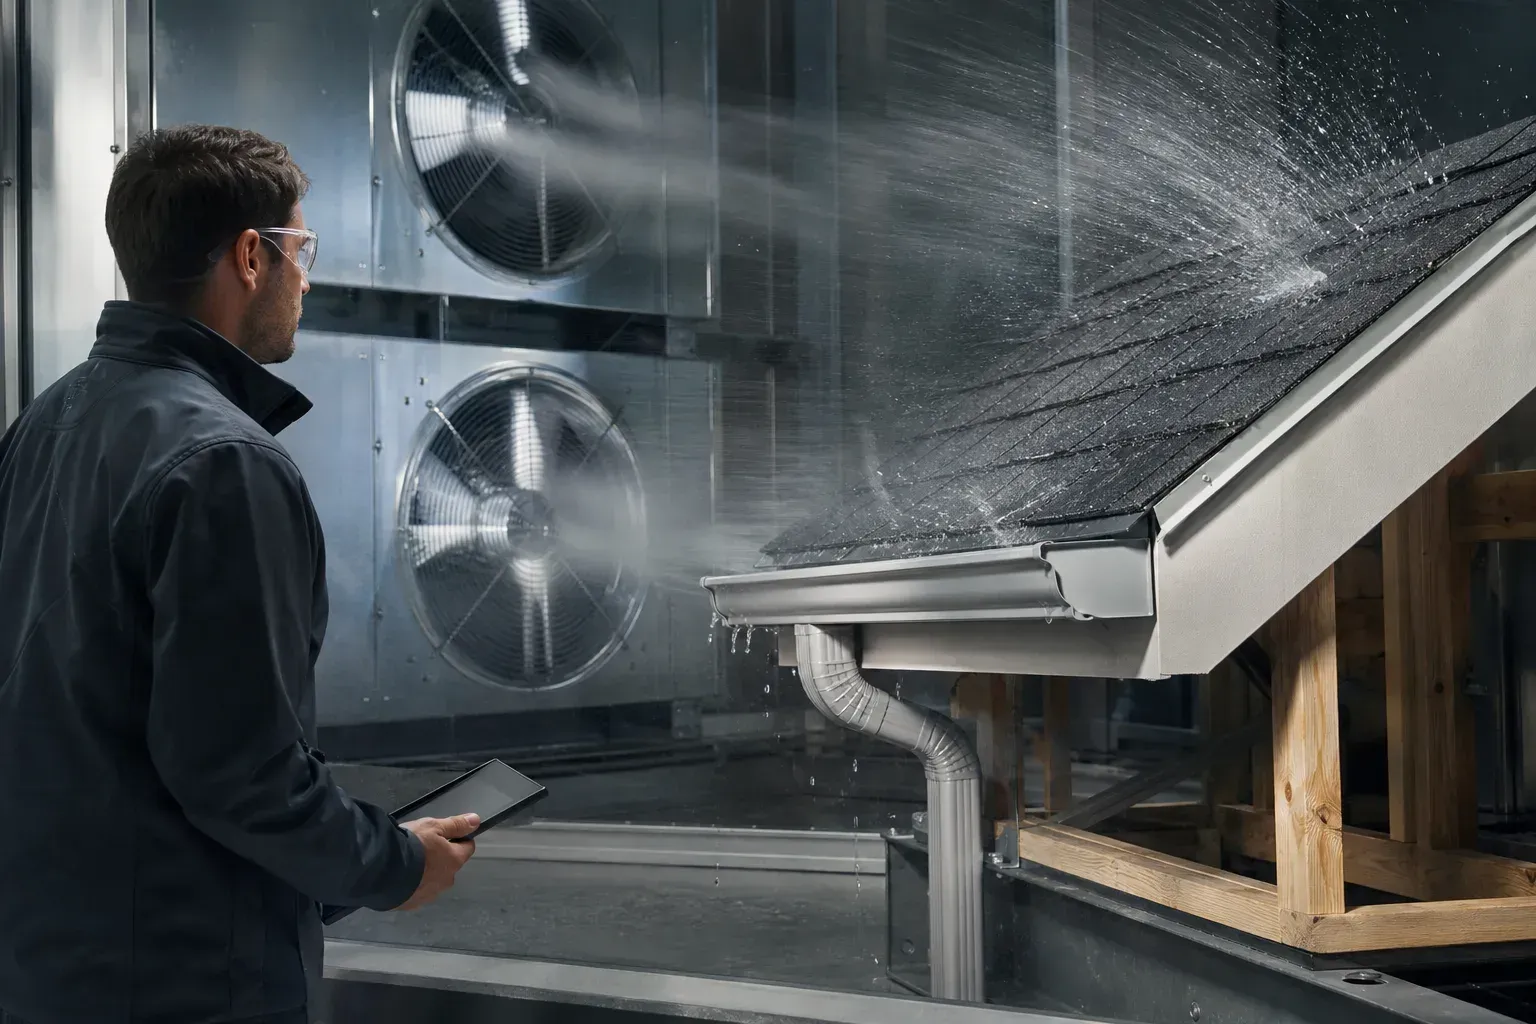
Once everything is in place, run a garden hose into the gutter and watch the water move through the entire system. Look for leaks at the outlet joint, drips at seams between sections, and confirm that water exits the splash block moving away from the foundation. Any slow drips at joints should be addressed with additional sealant before you consider the job complete.
Check that the downspout sits plumb and tight against the wall. A loose pipe will rattle in wind and eventually pull away from its brackets. Tighten any screws that feel soft in the wall, and add an anchor if the bracket does not feel solid.
Common Mistakes to Avoid
Skipping Prep or Planning Steps
The most common error is buying materials before fully planning the layout. This leads to wrong-sized elbows, sections that are too short, and connections that do not align with the gutter outlet. Measure everything twice and confirm your outlet placement before purchasing any parts.
Cutting Corners on Quality Checks
Using generic screws instead of rust-resistant sheet metal screws is a shortcut that causes visible rust staining on siding within one to two seasons. Similarly, skipping sealant at the outlet connection is the most frequent cause of leaks right where the downspout meets the gutter. These small details make or break the long-term performance of the installation.
Rushing the Final Inspection
Many homeowners skip the garden hose test and only discover problems during the first heavy rain. Testing with water immediately after installation gives you the chance to fix leaks while the caulk is still workable and before moisture has caused any damage. Do not skip this step.
Timeline, Cost, and When to Call a Pro
Typical Project Timeline
| Project Stage | DIY Estimate | Professional Estimate |
|---|---|---|
| Planning and measuring | 30 to 60 minutes | Included in quote |
| Material purchase | 1 to 2 hours | Handled by contractor |
| Installation (single story) | 2 to 4 hours | 1 to 2 hours |
| Cleanup and inspection | 30 minutes | Included |
| Total elapsed time | Half day to full day | 2 to 3 hours on-site |
Budget Ranges and Cost Drivers
Downspout materials for a typical home run roughly $5 to $15 per linear foot for aluminum, with vinyl slightly less and steel or copper significantly more. A full professional installation for a single downspout typically ranges from $75 to $200, depending on height, complexity, and regional labor rates. Homes that need multiple downspouts, underground drainage connections, or fascia repairs will see higher totals.
Cost drivers include the number of stories, the condition of existing fascia and gutters, the material you choose, and whether underground drainage is needed. If your current gutter system is aging or damaged, it may make sense to bundle downspout work with a broader rain gutter installation or replacement project.
Signs You Need Professional Help
Call a professional if your home is two stories or taller, your fascia is rotted or damaged, or you notice the gutter itself is pulling away from the roofline. Similarly, if water is already getting into your basement or crawlspace, that is a sign the existing drainage system has failed and needs a full professional assessment rather than a simple DIY patch. You can also refer to this guide on when to repair, replace, or add gutter guards to help you decide on the right scope of work.
Maintenance and Long-Term Care
Routine Checks
Inspect your downspouts at least twice a year, ideally in spring after snowmelt and in fall after leaves drop. Check for clogs at the top opening, separated joints, and brackets that have pulled loose from the wall. A quick visual inspection from the ground catches most issues before they become serious.
You can learn more about keeping your full system in shape on the gutters service page.
Extending Results Over Time
Keep debris from accumulating in the gutter trough above the downspout outlet. Even a perfectly installed downspout backs up quickly if the gutter itself is clogged. Consider adding gutter guards to reduce how often debris reaches the outlet.
In colder climates like Rochester and Webster, make sure your downspout extensions are removed or secured before the ground freezes to prevent ice damage to the lower elbow and splash block.
Conclusion and Next Steps
Quick Recap
Proper downspout installation involves careful planning, the right materials, methodical installation from top to bottom, and a thorough water test before you call the job done. The most common failures come from skipping prep, using low-quality hardware, and rushing the final inspection.
Recommended Next Actions
If your home is in the Rochester area and you are not confident tackling this project yourself, or if the job involves a second story, damaged fascia, or an aging gutter system, contact Final Solution Gutter Guards ROC for a professional assessment. The teamserves Webster, Rochester, Greece, Gates, and all surrounding Monroe County communities, offering transparent pricing and reliable on-time service. Contact Final Solution Gutter Guards ROC for a professional downspout installation assessment and free estimate.
Getting the job done right the first time protects your foundation, your landscaping, and your home's long-term value.
Frequently Asked Questions
How many downspouts does my home need?
A general rule is one downspout for every 30 to 40 linear feet of gutter. Most homes also need a downspout at every corner where gutters terminate and at any low point where water naturally collects. Larger roof surfaces, complex rooflines, or homes in high-rainfall areas like Rochester may benefit from additional downspouts to handle peak flow during heavy storms.
What is the best material for downspouts?
Aluminum is the most widely used material because it resists rust, handles freeze-thaw cycles well, and is relatively affordable. Vinyl is lighter and less expensive but can become brittle in cold weather, making it a less reliable choice for Monroe County winters. Steel and copper offer added durability and a premium appearance, but both come at a significantly higher cost.
How far should a downspout extend from the foundation?
Downspouts should discharge water at least 4 to 6 feet away from your foundation. If your yard slopes toward the house, you may need an underground drain pipe or a longer flexible extender to push water far enough away. Pooling water within 2 feet of the foundation is a leading contributor to basement moisture and long-term structural damage.
Can I install a downspout without replacing my gutters?
Yes, in most cases. If your existing gutters are in good condition and already have a properly sized outlet opening, you can add or replace a downspout without touching the rest of the system. However, if the gutter trough is sagging, leaking at seams, or pulling away from the fascia, it makes sense to address those issues at the same time.
A contractor serving areas like Penfield or Irondequoit can assess your full system and give you an honest recommendation.
How do I stop my downspout from clogging?
The most effective long-term solution is installing a quality gutter guard system that prevents leaves and debris from entering the gutter trough in the first place. In the short term, installing a leaf strainer at the top of the downspout outlet catches larger debris before it reaches the pipe. Clean your gutters at least twice a year and flush the downspout with a garden hose to clear any buildup.
If clogs are a recurring problem, the downspout may be undersized for your roof's drainage area.
What is the difference between a downspout and a drain pipe?
A downspout is the vertical pipe that carries water from the gutter trough down the side of the house to ground level. A drain pipe, in this context, typically refers to an underground pipe connected to the base of the downspout that carries water further away from the foundation, often to a dry well, storm drain, or a point well beyond the landscaping. Not every home needs an underground drain pipe, but homes with poor yard grading or chronic basement moisture often benefit from one.
Should downspouts be installed before or after siding?
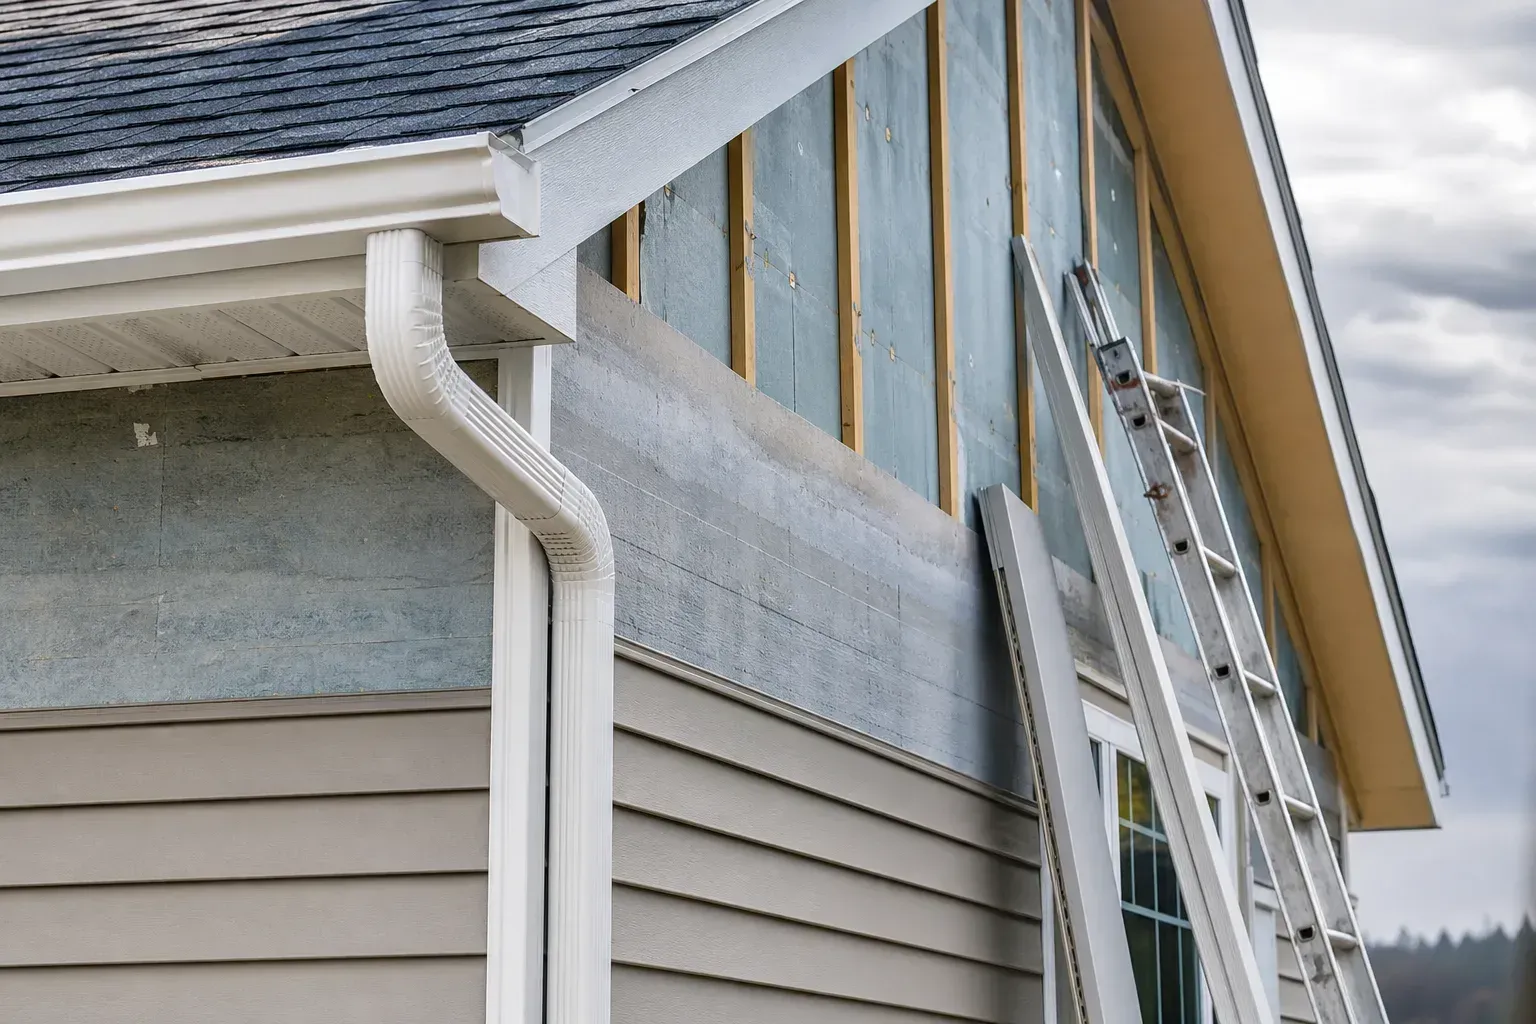
Ideally, downspout brackets are anchored into the wall framing or solid sheathing before new siding goes on, and the siding is then cut to fit around the downspout. On existing homes with finished siding, brackets are mounted directly through the siding into the wall, which is perfectly acceptable as long as the fastener reaches solid backing. Sealing around the bracket base with exterior caulk prevents water from wicking behind the siding at the penetration point.
You might also like