Gutter Guard Installation Problems: Causes and Real Solutions
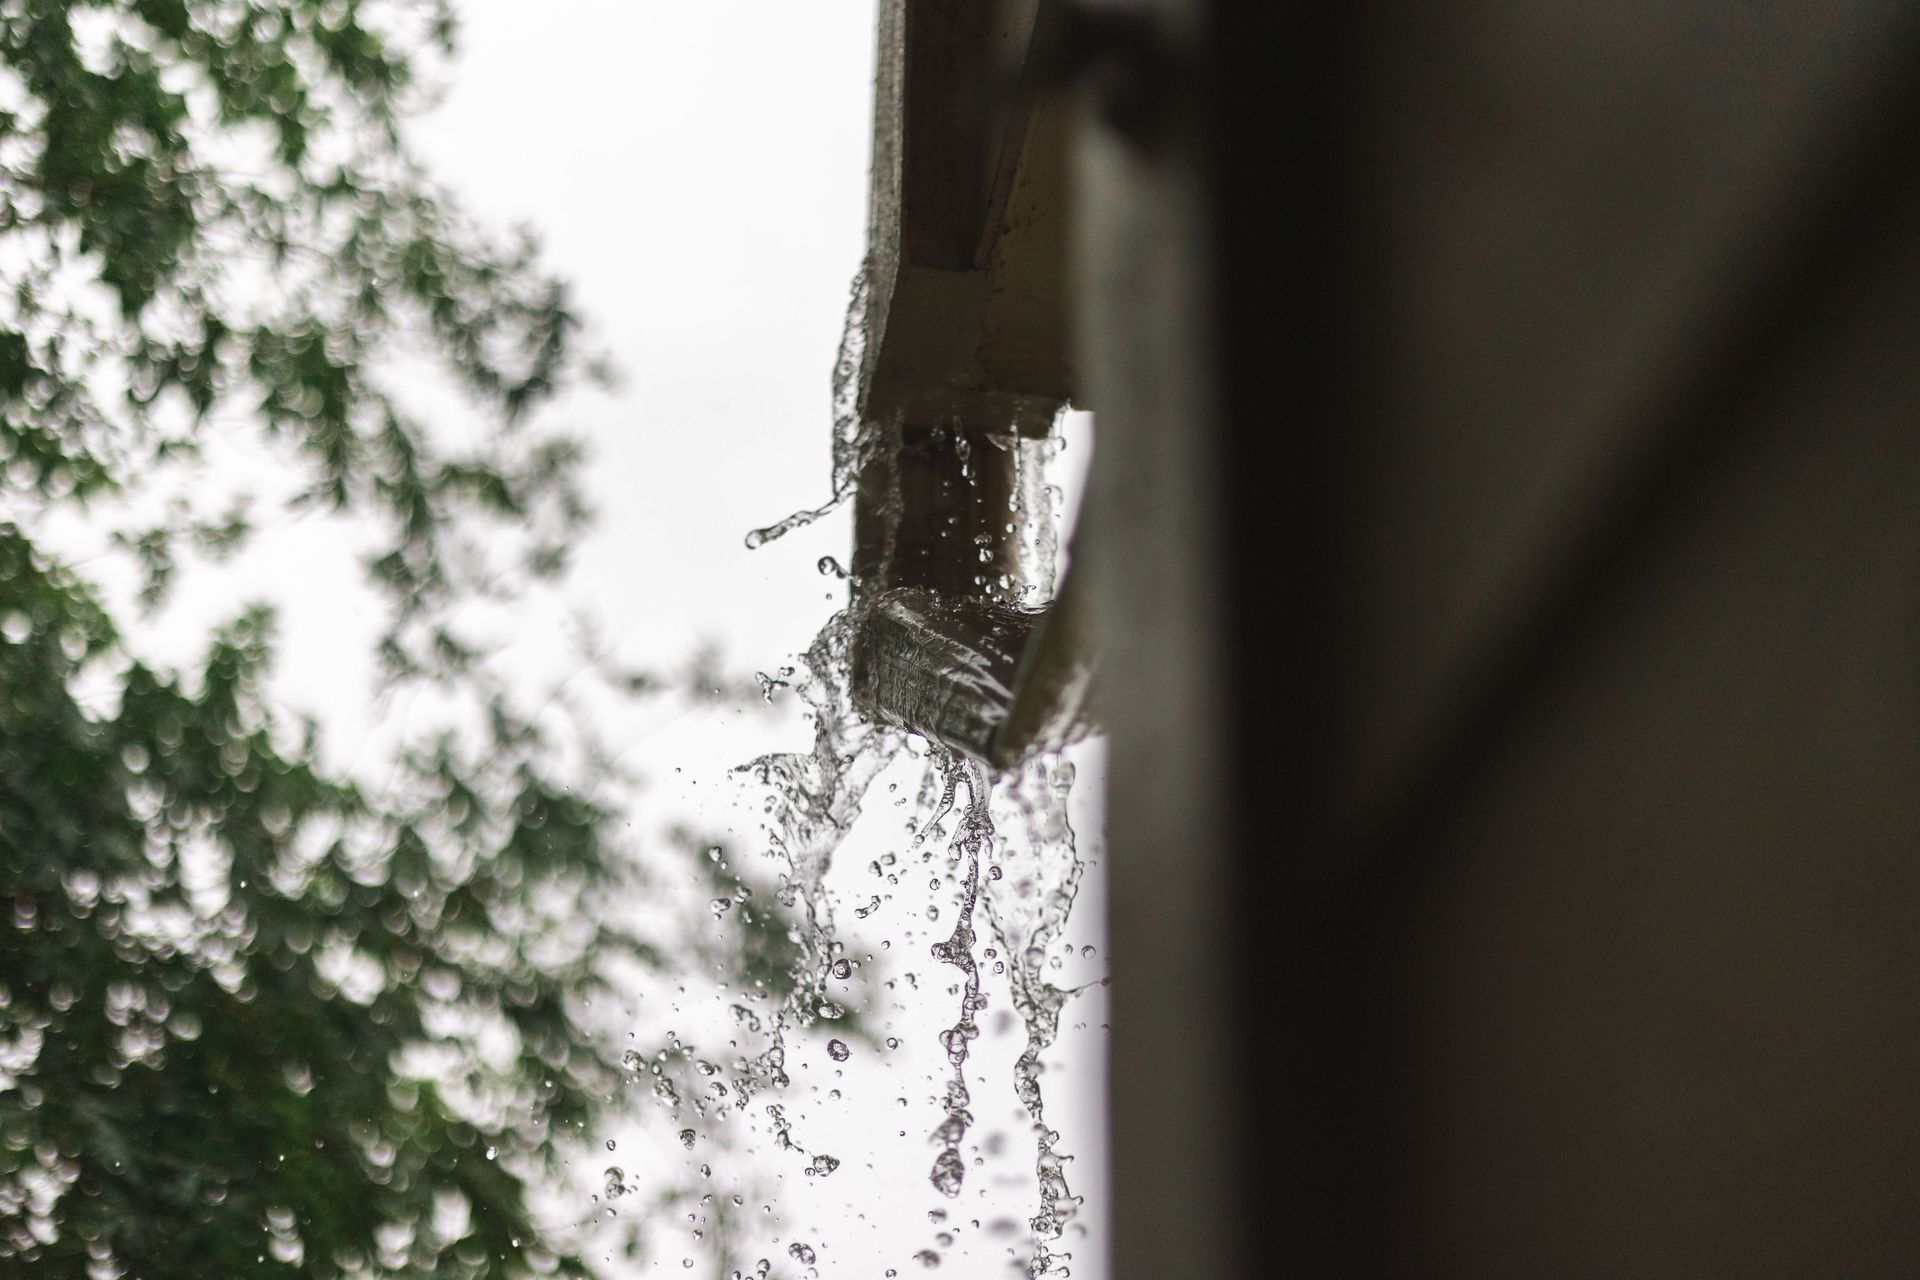
If you've noticed water spilling over your gutters during a heavy rain or puddles forming near your foundation, a gutter guard installation problem may be the cause. This guide is for homeowners who already have gutter guards installed, or who are considering them, and want to understand exactly what goes wrong, why it happens, and how to fix it. Bad installation doesn't just mean a leaky gutter.
It can mean water damage, mold growth, and costly foundation repairs. Whether you're troubleshooting an existing system or vetting a new installer, the information here will help you make confident, informed decisions.
Key Takeaways
Improper slope, wrong guard type, and failed fasteners are the three most common causes of gutter guard installation failure.DIY installation saves money upfront but frequently leads to misalignment, leaks, and voided product warranties.You can diagnose most installation problems from the ground or with a basic hands-on inspection after a rain event. Micro-mesh guards consistently outperform foam, screen, and reverse-curve designs for most residential situations. Asking contractors specific questions about slope tolerances, fastener types, and warranties separates qualified installers from low-bid risks.
Why Gutter Guard Installation Goes Wrong (And What It Costs You)
Gutter guard installation looks straightforward on the surface, but the details matter enormously. Guards that sit at the wrong angle, attach to soft fascia boards, or don't match your roof pitch will fail within one or two seasons. When they do, water bypasses the gutter entirely instead of channeling toward your downspouts.
The resulting overflow can damage landscaping, rot fascia boards, and send water toward your foundation. Spring gutter problems are often traced back to installation errors made the previous fall, once the freeze-thaw cycle exposes every weak point in the system.
How Installation Errors Lead to Water Damage, Mold, and Foundation Risk
When rain gutter repair issues go unaddressed, the damage cascades quickly. Water that overshoots a clogged or misaligned guard saturates the soil next to your foundation. Over time, hydrostatic pressure can crack basement walls or cause settling.
Inside the home, persistent moisture along the roofline creates conditions for mold growth in soffits and attic spaces. A single installation error, say a guard installed flat instead of angled, can cost far more to remediate than the original gutter job.
DIY vs. Professional Installation: Where Each Approach Breaks Down
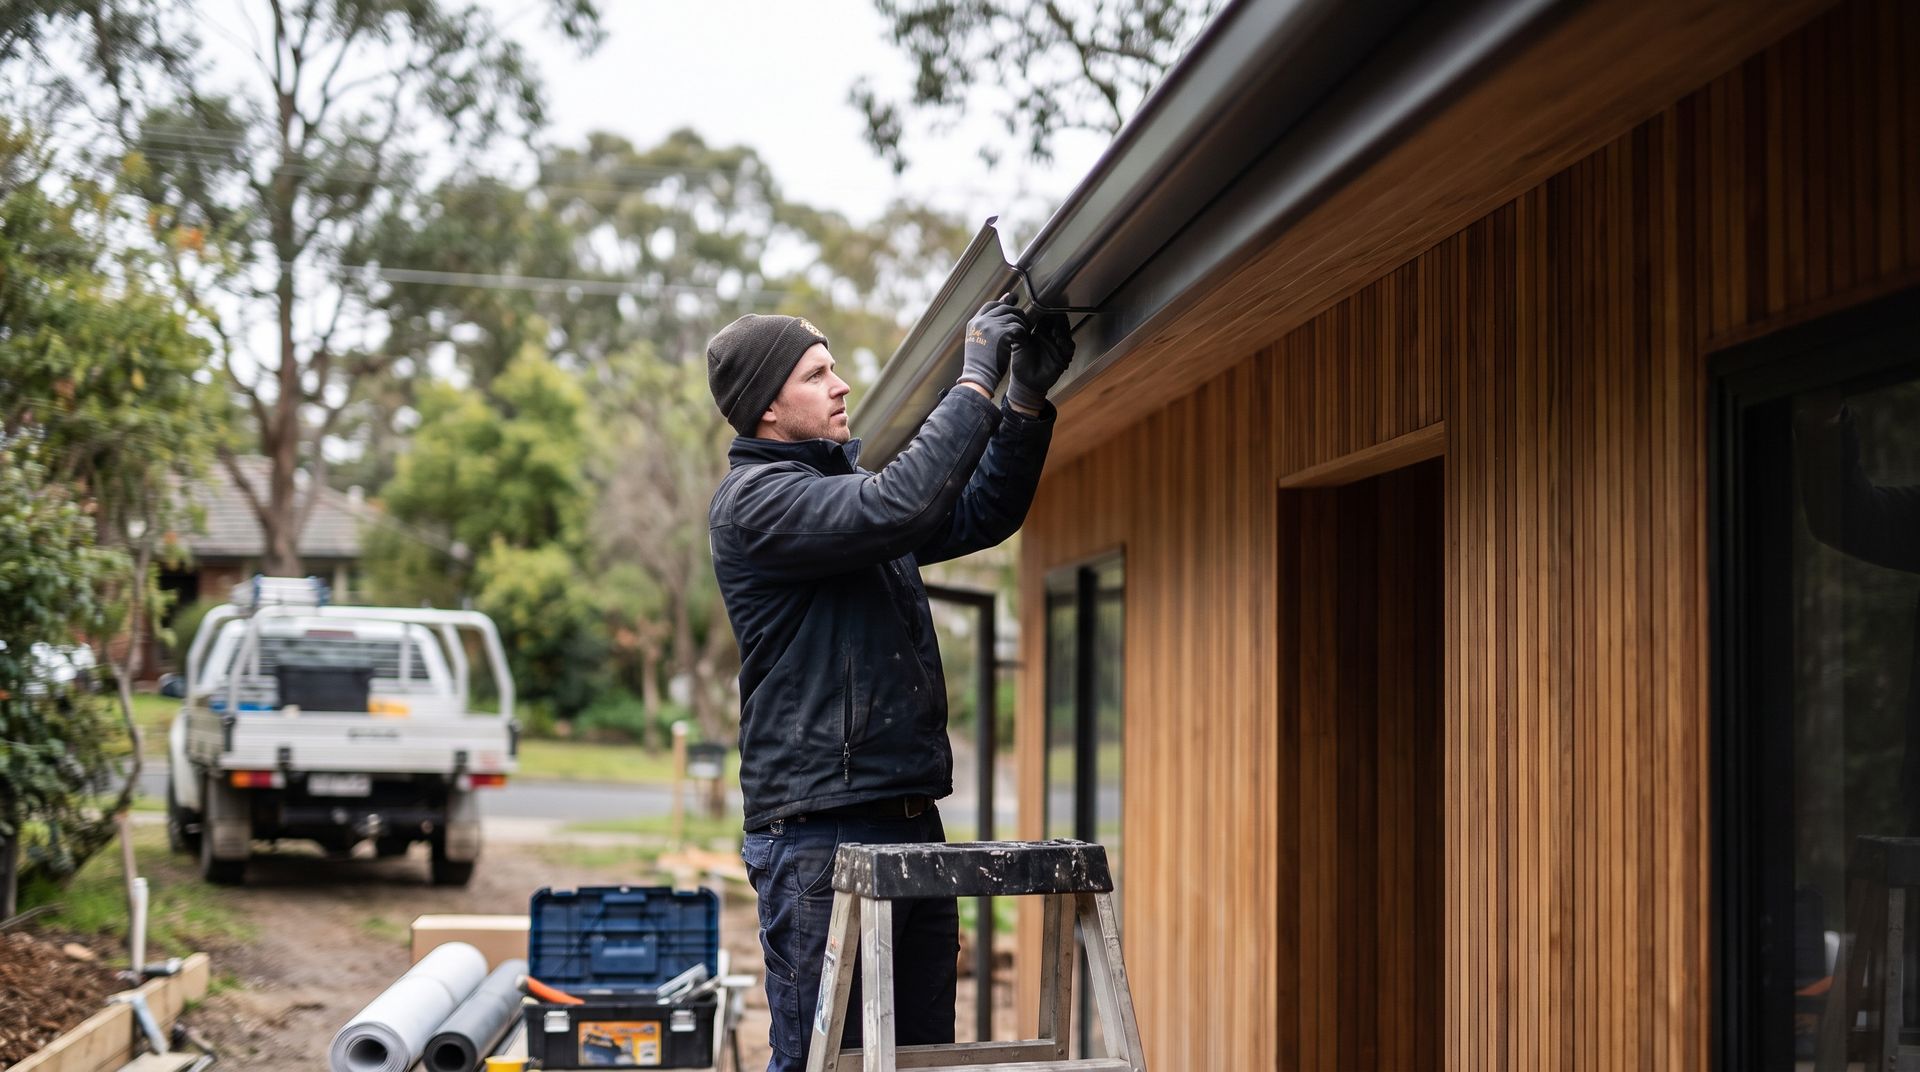
DIY installation is tempting because many guard products are sold as clip-on or slide-under systems. The problem is that proper installation requires measuring and setting slope, securing fasteners into structural wood (not just aluminum), and ensuring the guard surface sheds debris rather than collecting it. Most DIY failures involve rain gutter repair calls within 12 to 18 months.
Professional installation, on the other hand, breaks down when contractors use low-quality fasteners, skip a proper slope assessment, or recommend a guard type that doesn't match your specific roof and tree coverage. Price shopping without asking the right questions leads to the same outcome either way.
The Most Common Gutter Guard Installation Problems
The most common gutter guard installation problems are using the wrong guard type for the roof and tree environment, installing guards with insufficient slope, and allowing seam gaps or fastener failures that let water escape the system entirely.
Most gutter repair calls stem from one of three installation errors: mismatched guard type, improper slope, or mechanical failure at seams and fasteners. Understanding each one helps you identify what went wrong and how to address it. Problems that develop after a harsh winter, or during the first heavy spring gutter rain, are rarely random.
They trace back to decisions made during the original installation.
Wrong Guard Type for Your Roof Pitch or Debris Load
Not every guard works on every roof. A reverse-curve guard relies on surface tension to direct water into the gutter, but that physics breaks down on low-pitch roofs where water slows before it reaches the edge. Foam inserts trap pine needles and seed pods even when they initially block larger debris.
According to common gutter installation mistakes documented by industry professionals, choosing the wrong guard type is one of the most frequent and expensive errors homeowners encounter. If your home is surrounded by oak or pine trees, you need a guard rated for fine debris, not just leaves. Choosing based on price alone almost always requires a repair rain gutter call within two seasons.
Improper Slope and Sagging Sections That Trap Water
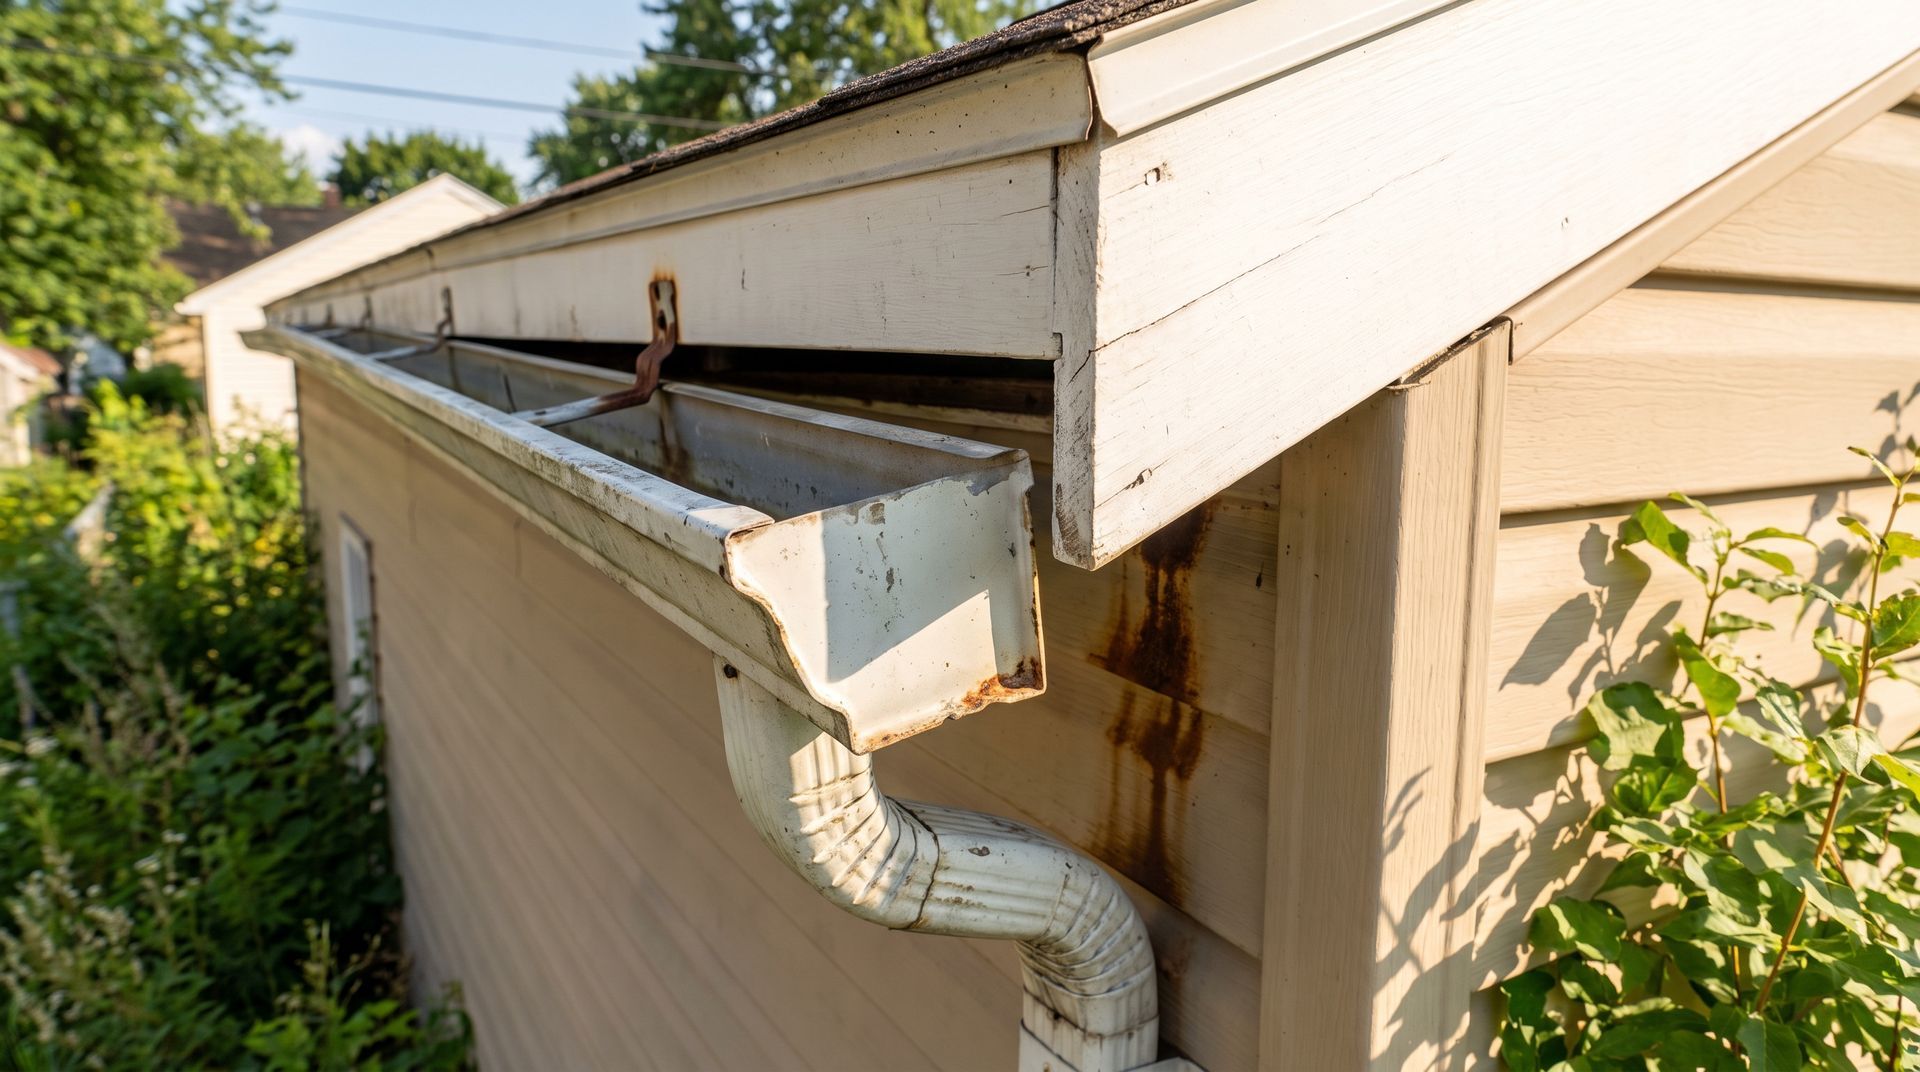
Gutters need a consistent slope, typically around a quarter-inch drop per 10 feet of run, to drain properly toward downspouts. When gutter guards are installed and fastened incorrectly, they can actually pull sections of the gutter out of alignment over time. A section that sags even slightly will pool standing water, which accelerates rust in steel gutters, promotes mosquito breeding, and adds weight that worsens the sag.
This is one of the clearest signs of a gutter repair problem that started at installation rather than from wear and tear.
Gaps, Misaligned Seams, and Fastener Failures
Guards that don't sit flush against the gutter lip create gaps where debris enters and water escapes. Misaligned seams between guard sections act as debris catchers and eventually become blockage points. Fasteners driven into deteriorated wood or spaced too far apart allow guards to lift during wind or ice events. As noted in research on DIY gutter installation mistakes, improper hanger and fastener spacing is one of the top causes of system failure regardless of guard quality.
The guard itself may be perfectly fine; the mounting method is what fails. If you're in the Rochester area and noticing separation or lifting guards, gutter repair and installation services in Greece, NY can address fastener and alignment issues directly.
How to Diagnose a Bad Gutter Guard Installation
You don't need to climb a ladder to identify most installation problems. Observation during and after a rainstorm gives you the clearest picture of system performance.
Warning Signs You Can Spot From the Ground
Walk the perimeter of your home during or immediately after a moderate rain. Look for:
- Water cascading over the front edge of the gutter instead of flowing through downspouts
- Visible sagging in any gutter section
- Guards that appear lifted, tilted, or separated from the gutter lip
- Staining or erosion in the soil directly below specific gutter sections
- Streaks on fascia boards indicating water is tracking behind the gutter
Any one of these signals a problem worth investigating further.
What a Hands-On Inspection Should Reveal
If ground-level observation points to a problem, a closer inspection (from a ladder with proper safety precautions) should check:
- Whether the guard surface is level or angled slightly toward the gutter opening
- Whether fasteners are seated firmly or showing signs of pull-out
- Whether seams between guard sections are flush or gapped
- Whether debris has accumulated underneath the guard rather than shedding off the top
A thorough inspection takes about 20 to 30 minutes and often reveals the exact cause. Homeowners in Pittsford and Penfield can also request a professional assessment from gutter installation and repair specialists in Pittsford, NY.
How to Fix Each Gutter Guard Installation Problem
Fixing a failed gutter guard installation depends on whether the problem is slope, seam integrity, or guard type compatibility. Some repairs are straightforward; others require partial or full reinstallation.
Correcting Slope, Alignment, and Sagging
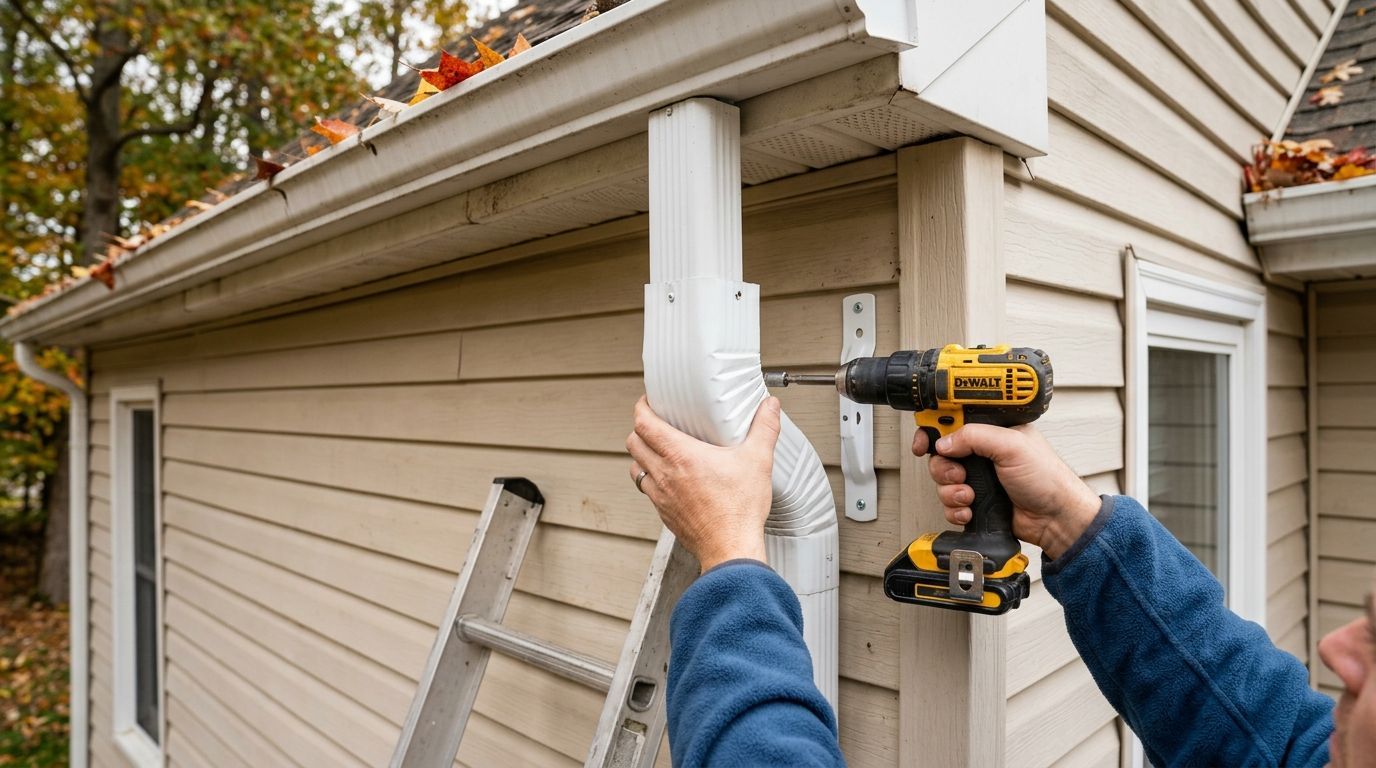
Slope correction requires removing the guard sections over the affected area, adjusting hanger positions or adding new hangers to restore the quarter-inch-per-10-foot grade, and then refastening the guard flush against the corrected gutter. If the fascia board is soft or deteriorated, it needs to be repaired before any fastener will hold reliably. For homeowners in Webster, professional gutter installations and repairs in Webster, NY include slope assessment as part of every service call.
Resealing Seams and Replacing Fasteners
Seam gaps between guard sections can often be corrected by removing the affected sections, cleaning the contact surfaces, and repositioning the guards so they overlap correctly. Lap direction matters: the upstream section should always overlap the downstream section so water doesn't funnel into the gap. Replace any fasteners showing corrosion or pull-out with screws rated for exterior aluminum or steel contact.
Avoid over-driving fasteners, which can deform guard edges and create new gaps.
Swapping the Wrong Guard Type for the Right One
If your guards are fundamentally incompatible with your roof pitch or debris environment, no amount of fastener work will solve the problem. A foam or brush insert on a steep-pitch roof under heavy oak canopy will clog repeatedly. The solution is replacing the guard type entirely.
Consult a qualified installer about micro-mesh guards, which handle fine debris and function across a wider range of roof pitches than any other category.
Gutter Guard Types Compared: Which Performs Best by Situation
Matching Guard Type to Roof Pitch, Tree Cover, and Climate
In regions with significant seasonal rainfall and mixed tree canopies (oaks, maples, and pines are common throughout Monroe County), micro-mesh guards are the most reliable option. Reverse-curve systems work well on steeper roofs but can fail in heavy rain when water volume exceeds the surface tension capacity. According to research on proper gutter guard installation standards, angle and pitch control are the primary factors determining long-term performance, regardless of guard type.
Foam guards degrade in freeze-thaw climates and are rarely recommended for upstate New York conditions.
When to Call a Professional and What to Ask Before You Hire
Red Flags in Contractor Bids and Warranties
Be cautious of bids that don't include a slope assessment or site visit. A contractor quoting a price over the phone without measuring your linear footage, inspecting your fascia boards, or asking about your tree coverage is likely to cut corners on installation. Warranties that cover the product but not the labor are another warning sign. Labor warranties (typically one to two years) demonstrate that the installer stands behind the installation quality, not just the materials.
Questions That Separate Qualified Installers From Low-Bid Risks
Before signing any contract, ask:
- What slope tolerance do you1. What slope tolerance do you set, and how do you verify it before finishing?
- What fastener type and spacing do you use, and why?
- Does your warranty cover labor as well as materials, and for how long?
- What guard type do you recommend for my specific roof pitch and tree coverage, and why?
- Can you show me examples of completed installations similar to my home?
A contractor who answers these questions with specifics is worth your time. One who deflects or gives vague answers is telling you something important.
You might also like